Crafting with Paper: DIY Utensil Holders!
Learn how to make fun DIY Utensil Holders with this crafting with paper tutorial.

With summer in full swing, that means a lot of parties around here. We have about 8 birthday parties in my family during the summer. Yep, that’s a lot.
Most of the parties are outside which means paper plates, plastic utensils, napkins, plastic cups. etc. Just because the parties are outside doesn’t mean they can’t be pretty and fun.
A great way to add a little fun to parties are these DIY Utensil Holders!
Not only are these little guys cute, they are really handy! No more flying napkins or “Oups I forgot to grab a fork!”. Everything your guests need right in a cute utensil envelope.
Want to learn how to make some? Awesome! I have a tutorial for you!
This post also contains some affiliate links for your convenience. Click here to read my full disclosure policy.

Crafting with Paper: DIY Utensil Holders
Supplies:
- 12×12 Scrapbook Paper (Each paper makes two utensil holders, so grab as many as you’ll need.)
- Scissors
- Washi Tape
- Plastic Utensils
- Napkins (I used fun colors from RENOVA, I’ll share more details below!)
- Straws

Instructions:
Step 1: Start off by cutting your scrapbook paper in half. As I mentioned above, one paper makes two utensil holders.

Step 2: Take out a napkin and place it in the middle of one of the pieces of scrapbook paper you just cut.
Step 3: Fold over each side of the paper that’s overlapping the napkin.

Step 4: Fold down the upper corners of each side of the paper.

Step 5: Turn over the “almost” utensil holder. Fold the lower corners into small triangles and then fold the entire bottom upwards.
Step 6: Secure the fold with washi tape.

Step 7: Place a piece of washi tape over the fold in the front.
You don’t have to put some, I did it because I find it pretty!

Step 8: Insert the napkin, utensils, and straw.

And voilà, you have yourself utensil holders!!


Aren’t they super cute?
The napkins I used are made by RENOVA. RENOVA is a paper product company from Portugal who have recently expanded their fabulous line of products to Canada. Their products are known as “The Sexiest Paper on Earth”. They’ve been made famous by celebrities like Beyoncé who only uses red toilet paper on tour! So cool!
Want to check out RENOVA paper products yourself? You can find their products with the store locator or you can shop online! P.S. RENOVA is on Facebook too!

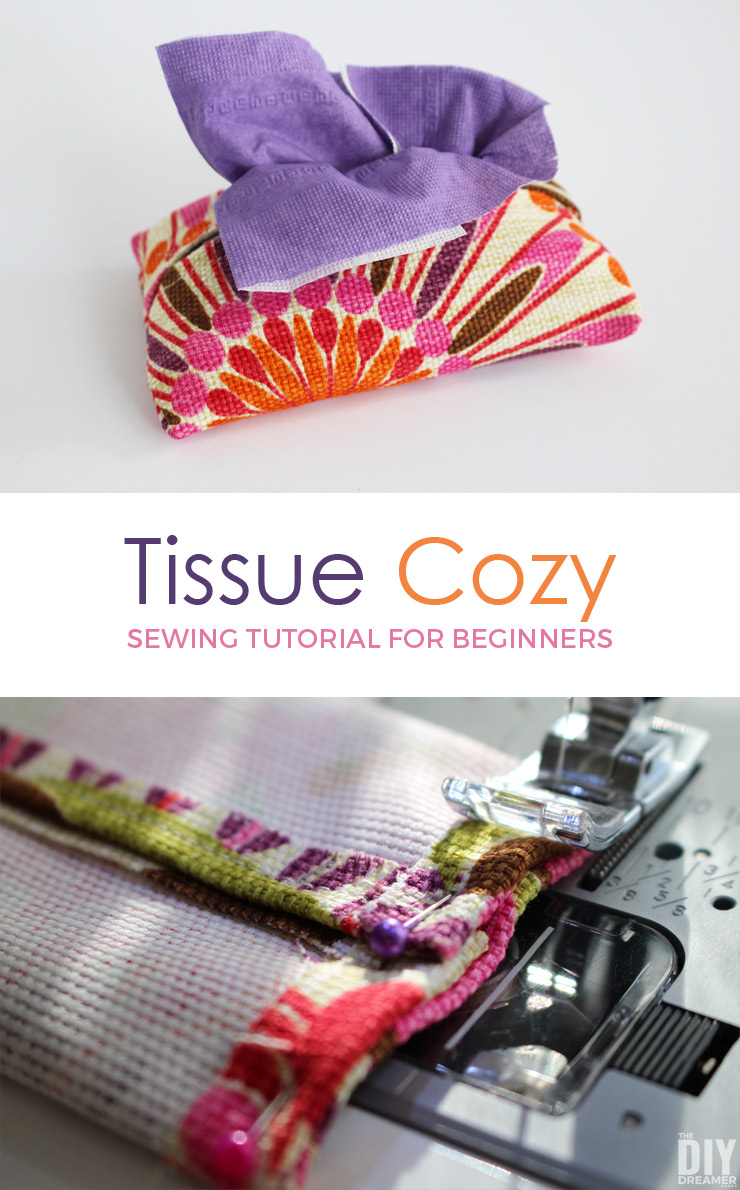
Guess what? RENOVA’s fun bright colored pocket tissues have inspired me to sew!
Yes, you read correctly.. I sewed something! Please tell me you’re proud of me!


You can’t tell me those aren’t fun?! I can’t wait to make more!
I’m actually heading back to the store tomorrow to buy more RENOVA pocket size tissues. Not only are they available in cute colors, they are also scented!
P.S. Come back next week for the step by step sewing tutorial! Yes, I’m going to teach you how to make these! If I was able to make them, you can too!
Do you have a lot of parties to go to this summer? Are you hosting one?
Have a FABULOUS day!

P.S. I’ll be linking this to these parties.
This is a sponsored conversation written by me on behalf of RENOVA. The opinions and text are all mine. Restrictions apply.


