Triplet Tote Tutorial – Sewing for Beginners {Craft Snob}
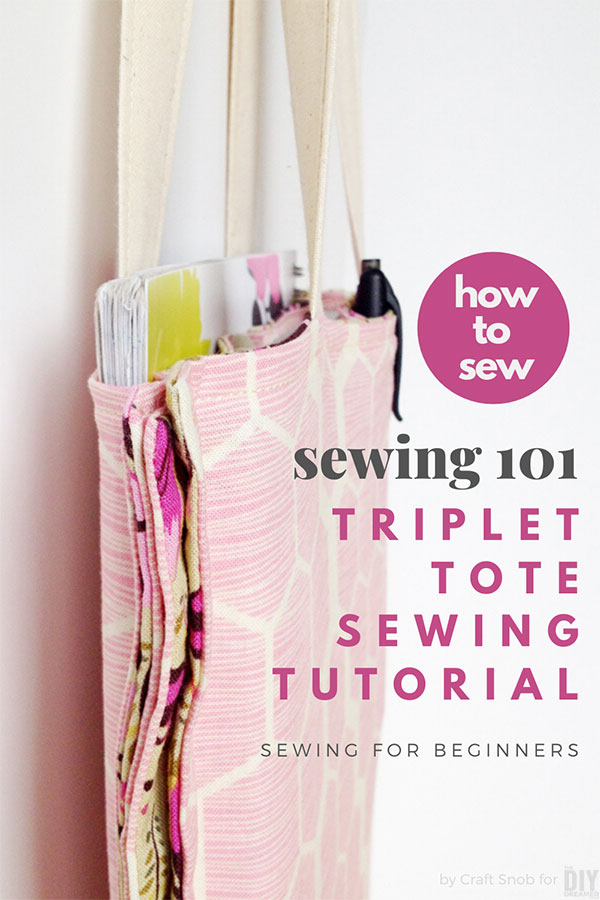
Triplet Tote Tutorial – Sewing for Beginners ~ Learn how to sew a triplet tote with this easy sewing for beginners tutorial.

I’m so excited about today’s post!!
My friend Sara from Craft Snob is here to share a beginners sewing tutorial with us!! Yay!!
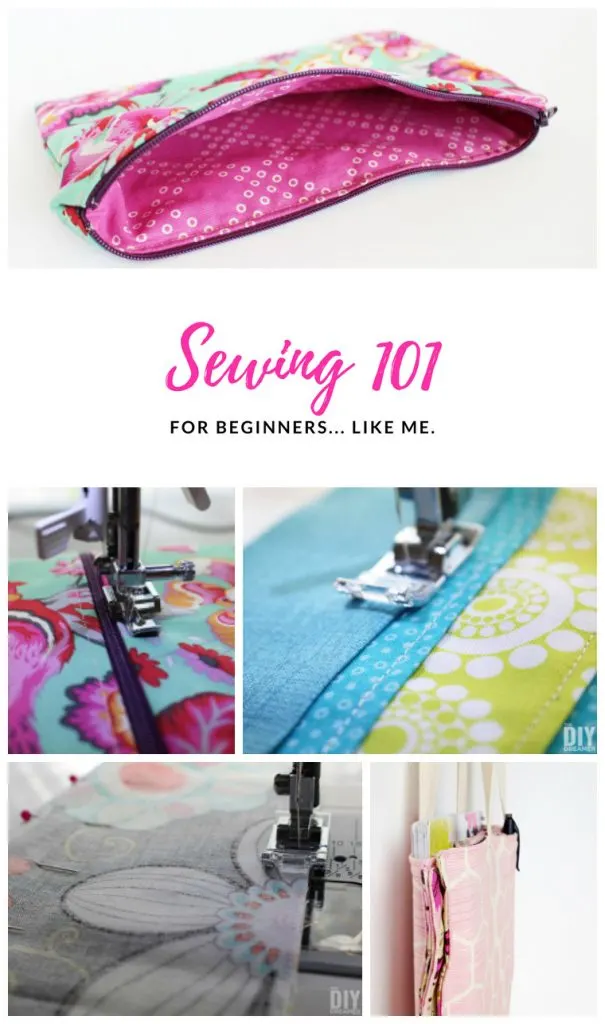
You all know how I’ve been dying to start to sew, I even put together a Sewing 101 post last year.
This tutorial is definitely the push I need to start!
You’ll find below an AMAZING Triplet Tote Tutorial, which I can’t wait to make myself.
*********
I frequently carry a one pocket tote around with a bunch of things ranging from my laptop, notebooks, pens, thumb drives, etc. Often my pens and other small accessories fall below my notebooks and laptop, making it difficult to find what I am looking for.
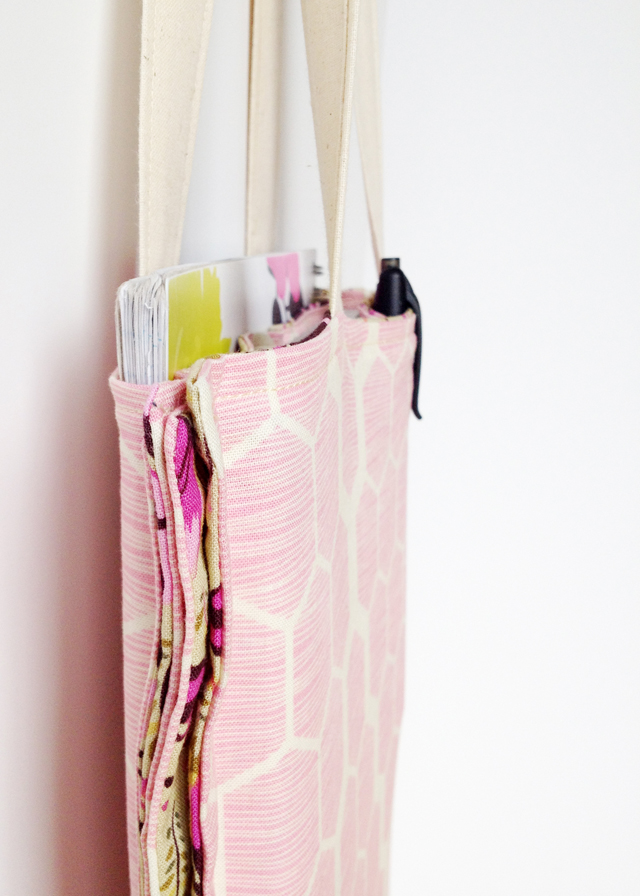
To solve this problem, I wanted to make a tote with three dividers: one for my laptop, one for my notebooks, and one for smaller miscellaneous items.
The result? The Triplet Tote, which has three sections of equal size.
This post also contains some affiliate links for your convenience. Click here to read my full disclosure policy.
Triplet Tote Tutorial – Sewing for Beginners
Materials:
- Three coordinating cotton fabrics
- Matching thread
- Basic sewing supplies
Notes:
- Assume all allowances are 1/4 inch unless stated otherwise.
Instructions:
Step 1:
- Cut two of each: Exterior (28″x12″) – Lining (28″x12″) – Handles (26″x4″)

Step 2:
- Fold handle in half lengthwise and press. (See photo below.)
- Open the handle, fold both edges towards the center, and press.
- Fold along the creased center-line and press again.
- Top-stitch all the way around.
- Repeat for the other handle.

Step 3:
- Lay the lining right side up. Place one handle as shown in the photo below.
- Lay the exterior right side down. Sew along the edges as shown in the photo below. (Leave a few inches open at the bottom.)
- Repeat the above steps with the other lining, exterior and handle.

Step 4:
- Turn right side out and press.
- Sew the bottom opening closed.
- Top-stitch across the top. (See photo below)

Step 5:
- (You should have two identical pieces.)
- Fold each piece in half about the centerline.
- Line the bottom up with the top.

Step 6:
- Lay one on top of the other, making sure the handles are on the exterior.


Step 7:
- Top-stitch along the sides and bottom with 3/4 inch allowance.

Now you’re all done.
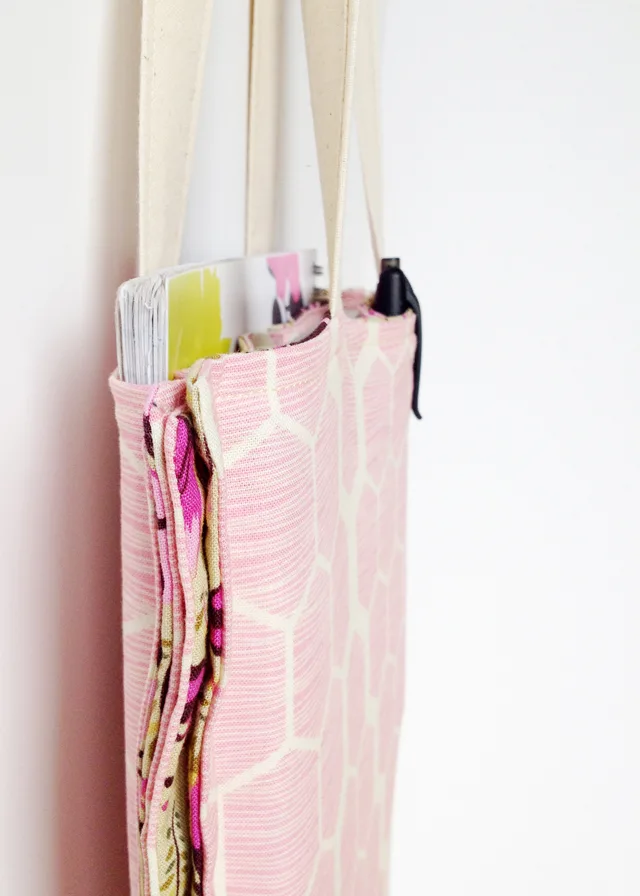
Pop a few of your favorite items into the tote.
I’m so glad I won’t be losing pens and such beneath my notebooks and laptop anymore.
How to sew a tote with three compartments

I love how the sides turned out! Aren’t they fun and different?


Thank you Christine for allowing me to share a beginner sewing project with your amazing readers.
Sara, creator of WE SEW Crooked, a fun beginner sewing class for new and nervous sewers. Craft Snob is where I host the Bite Sized Sewing Series chalk full of easy sewing projects. My favorite sewing projects are beginner ones because they are fast, easy, and kind of like instant gratification, right?
Sara – Craft Snob
P.S. I’ll be linking to these Parties.
P.S. I tried Sara’s tutorial and I made my very own Triplet Tote!!
YAY!! Come on over and check it out:

P.P.S. Don’t forget to check out my Sewing 101 Guide for beginners… like me

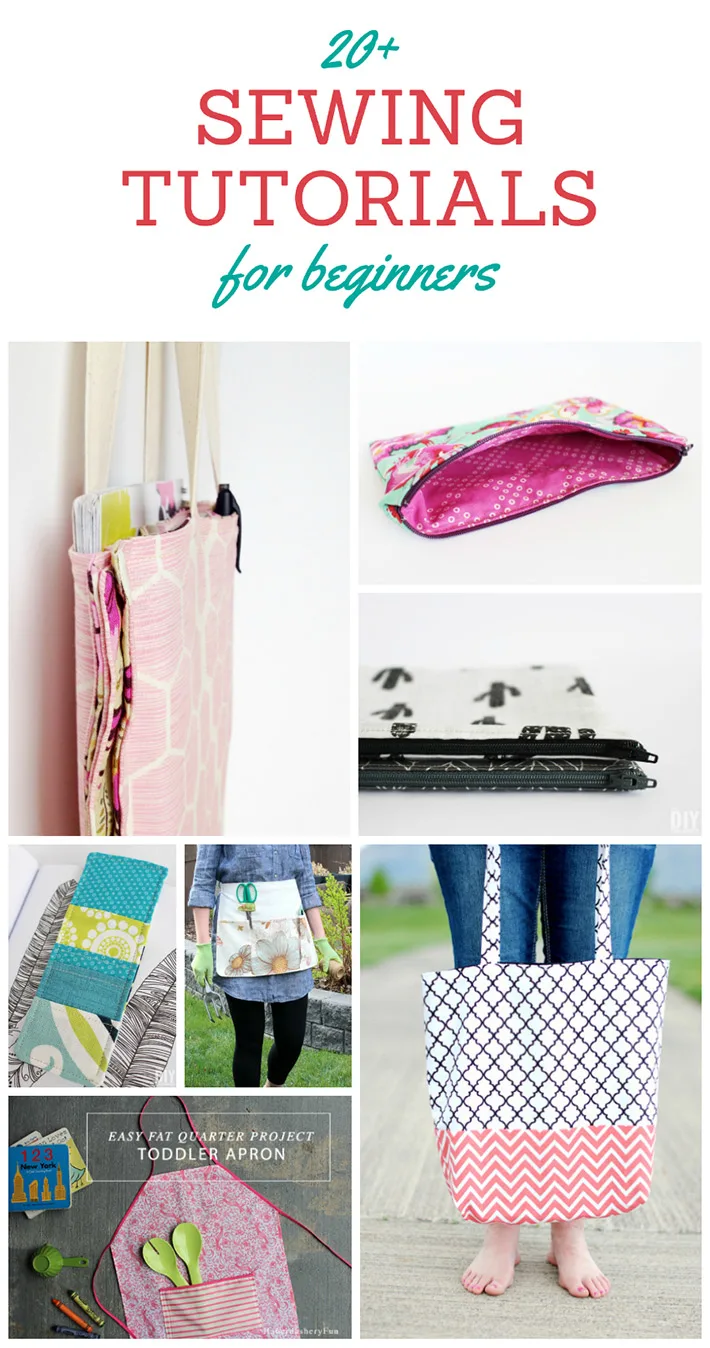
Here are more sewing projects for beginners:
20+ Sewing Tutorials for Beginners


I love this tote! It’s such a cool idea. I love the fabrics that were used!
Thanks Heather! I’m kind of a softie for pink fabric. ;)
hey, looks awesome!!! do you use any stabilizer? and how thin are the fabrics? would it work also with canvas on the outside and cotton for the lining?
This is so cute, the possibilities are endless. :)
What a great tutorial!! I love the look of the bag!! Its so cute and functional! I want oe!
Very cute and easy!
I really envy those who can sew and also those who can write tutorials – must be so much work! This is too adorable – love the fabrics!
I absolutely LOVE this! What a fantastic design! I would love to make it. Pinning for later.
I love this tote! I am not very good at sewing, but have made a few things before. My daughter actually made a tote very similar to this last year when she was learning. Her friends asked her to make them one so she is putting her skills to work during this cold winter to surprise them!
What a great design, would love to make this. Have pinned!
What an adorable triplet tote! I have no sewing skills whatsoever, so I’ll live vicariously through what you’ve created.
Love the fabrics you chose and the tote turned out wonderful.
Thanks for sharing,
Suzanne
Pieced Pastimes
What a cute tote! And the fabric you pick was just perfect! Thanks for sharing:)
Wow, thanks for such an awesome tutorial!!! Amazing! I’ve pinned it to my biggest and busiest board! :D
I found your blog from the Serenity Saturday link party. I LOVE this tutorial, thanks for sharing. I look forward to start this sewing project :)
~Meg
The dividers is key! So easy to lose stuff in one big tote. Love the use of multiple fabrics! Great DIY! Thanks for sharing.
This is fab! Love the fabrics used…a different twist on the basic tote! :)
Love this. Had to pin it. Hugs, Beverly
Very very great design .Thank you
Oh my goodness! This bag turned out so great :) I am not a sewer, and have barely mastered sewing on a button, but I think I could maybe do this if I tried! Looks pretty simple and I am a huge fan of totes! Nicely done :)
Super cute and great instructions, very clear. I keep trying to teach my girls to sew and no one is ever excited about the project ideas I have for them but this one might work!
I am dying over this bag! The colors of fabric are stunning, too. I just posted today, I wish I could sew…. how timely!
What a great idea! I love these fabrics too. So pretty! Thank you so much for linking up at The Makers. :)
This is so cute and would be perfect for carrying an iPad too. I wish I had a sewing machine, I would try this. I’m pinning it, maybe I can get my mom to make it for me :-)
What a cute tote bag! I don’t have any sewing skills but will have to look into the class since I’ve been wanting to dabble in it :) Thanks for linking up to The Makers!
LOVE this!! Gotta drag the sewing machine out of the closet and get to work. This is an adorable bag, and would be perfect for gifts. Thanks for the awesome tutorial. – Bre @ Average But Inspired
What a great project to get newbies hooked on sewing! Thanks so much for sharing at The Makers Christine!
This is such a cute tote! The fabrics she chose are exactly my style! Thank you for linking this up at Frugal Crafty Home Blog Hop!
This is just stunning! Lovely choice of patterns!
Thank you so much for sharing your beautiful project on The Inspiration Board at homework. I featured you today! Have a wonderful weekend.
carolyn ~ homework
Genius! And I love the patterns you choose! Beautiful! Thanks for linkin up to Sunday FUNday!
LOVE this tutorial! Thanks for sharing, Sara. Just wanted to let you know you are being featured tomorrow night at the Frugal Crafty Blog Hop. Please stop by @ 8pm C and link up any posts you have and don’t forget to grab your featured button!
What a sweet tote! Beautifully made! And I love the fabrics, so lovely!
Or you could use 4 different fabrics that coordinate and make it kind of fun that way! This is so cute – once I figured out what was going on… I’m kind of slow on the sewing thing, but when I finally got it I went “ooooooooo” Love Love LOVE it!
Oh my goodness, this is adorable and you make it look so easy. Thanks for linking up, pinning for later
XO
Kristin
What a beautiful bag! I love the design and the fabrics!
I love this, what a simple but functional bag! Stopping by to pin this and let you know I featured it on my blog today!
I’m so making this, as soon as I can get to my fabrics and sewing machine!
Awesome bag! I LOOOOVVVEE the fabric! Thanks for sharing it at Monday Funday!
Cute idea!
this is so cute, thanks for sharing!
Nice!
Hi this is so cool! I linked to this tutorial on my blog, I hope it’s ok! http://www.atelierofideas.com/2014/03/whats-up-friday_21.html
This is a brilliant idea – can’t wait to make one! Love your tutorial.
I love this tote bag! Such a smart idea. :) I would love, if you are able, to share this at my link party, Project Inspire{d} ~ Mondays at 8 p.m. EST ~ thanks so much and have a wonderful week and a blessed Easter.
So simple and pretty!
Plus, my favorite handle making technique. :)
Off to measure my tech to make sure it fits! (Can you share the dimensions of your laptop so we have a starting point?
Thanks,
Sarah
Thanks so much Sarah!! The laptop is a 13″. :)
What is the reason for the 3/4″ seam allowance at the last part? I love the bag, but the seam allowance seems so big. I think, I would like it better with a smaller edge.
This is a beautiful bag, but I would the racoons on the outside.
What a nifty idea perfect for beginners! I’ll be pinning this one to share with my newbie sewing readers.
Another little addition you could do is to sew straight up the middle on one side before you sew up the edges. This would leave one side with two smaller pockets for pens and such, and the other with one larger pocket for notebook/laptop/tablet.
I am a brand spanking new sewer and it took me about 6 hours to make this (that’s including figuring out how to thread the darn bobbin, repeated trips to the ironing board, agonizing over cutting the fabric, taking a slow and steady approach). So very cute and satisfying to make, the hardest part was picking out the fabric!
Awe Kelly, I just bought a sewing machine and I’m with ya. Lots of ironing, re-cutting, re-sewing, unsewing, looking at my manual and my sewing machine dvd…I decided to make roman shades for my first project, not easy nor fun lol but I see the light at the end of the tunnel.
I meant to say Liz, sorry.
Thank you for making a tutorial so easy for a beginner like me to do. I get so lost with some of the wording used in sewing tutorials.
I discovered your website today… juts great ! thanks !
I made this a few weeks ago. It turned out really nicely. Thanks for the lovely tutorial! Any way for me to post some pics?
Idea with pockets is brilliant! :)
What am awesome idea! I love this tote! I finally have a place I can store my laptop and regular purse things without creating soooo many complicated pockets! Thanks1
This is so great! I’ve been searching for a simple yet functional bag for notebooks and other writing supplies. Thanks for the tutorial. You’ve made life so much easier today!
Hi Heather! Great idea for a tote. I love the idea of the dividers. Thanks for linking up this week. ~smile~ Roseanne
So glad I found you through Marty’s link party! My pens always disappear to the bottom of my bag too – what a great idea to sew separate compartments!
This tote turned out perfect. I like the compartments to keep me organized!
Have a great day,
Kippi
This 3 compartment tote bag is great, and the instructions are the best written I have ever seen. I read thru them and understood every step. thanks for posting such a great pattern