Swing Set – Old to New with Paint!
Sébastien and my Dad built Gabrielle a swing set about five years ago for her birthday. It gets used everyday and year round!
Yes, both Gabrielle and Emanuelle love swinging on it even when there’s snow on the ground! I should probably take down the seats during the winter (that might explain the rust on them haha), but the girls like using it during the winter too.
With the sun, rain and snow… the swing was getting old looking. Yet, like I mentioned, it’s only 5 years old!
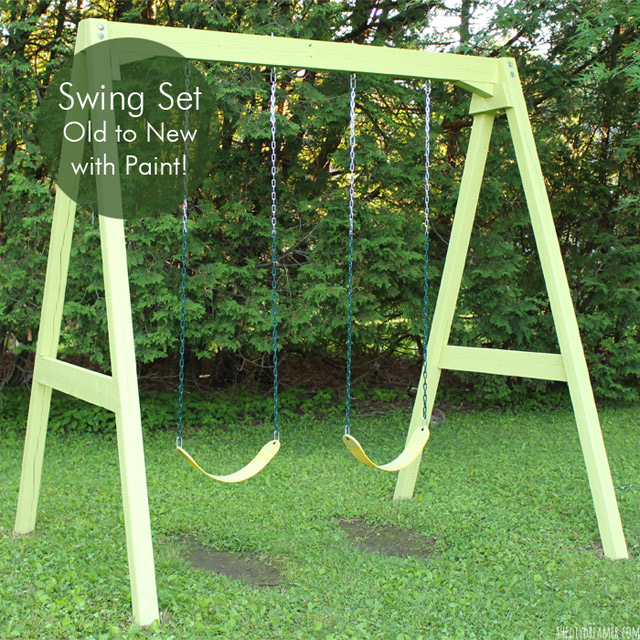
So we decided to give it life again by painting it! We used BEHR MARQUEE™ Exterior Satin Enamel in Pistachio. Pistachio is the perfect fun shade of green, perfect to give the swing set life again!
Did you know that BEHR MARQUEE™ Exterior Satin Enamel is a Paint & Primer in One? The satin sheen creates a pearl-like finish that’s durable and dirt-resistant! It also resists moisture, fading and stains.
Pretty awesome right? Gosh, do I love it. But most importantly, the girls love it too!
Let me show you how it looked before we painted it:

Looks really old right?
The wood aged a lot in the last couple of years and the chain has rusted out which stained the rope. The whole thing had become an eye sore in our backyard.
This post contains some affiliate links for your convenience. Click here to read my full disclosure policy.
Swing Set – Old to New with Paint
Supplies:
– Outdoor Paint (BEHR MARQUEE™ Exterior Satin Enamel – Pistachio)
– Paint Pan
– Paint Roller
– Paint Brush
– Cloth & Water or pressure washer
– Grass Clippers
– New chain and seats
Instructions:
Step 1: We removed the old swings and cleaned all the wood with a cloth and water. We could have used the pressure washer, but with all the rain we have gotten in the last few days we figured it would be fine if we did a quick surface clean.

Step 2: We used grass cutters to cut down the long grass around the base of the swing set.

Step 3: Now the fun part: opening the can of paint to check out the color! LOVE!


Step 4: Pour the paint in a paint pan. I line my paint pans with aluminium foil, makes cleaning up after so much easier!

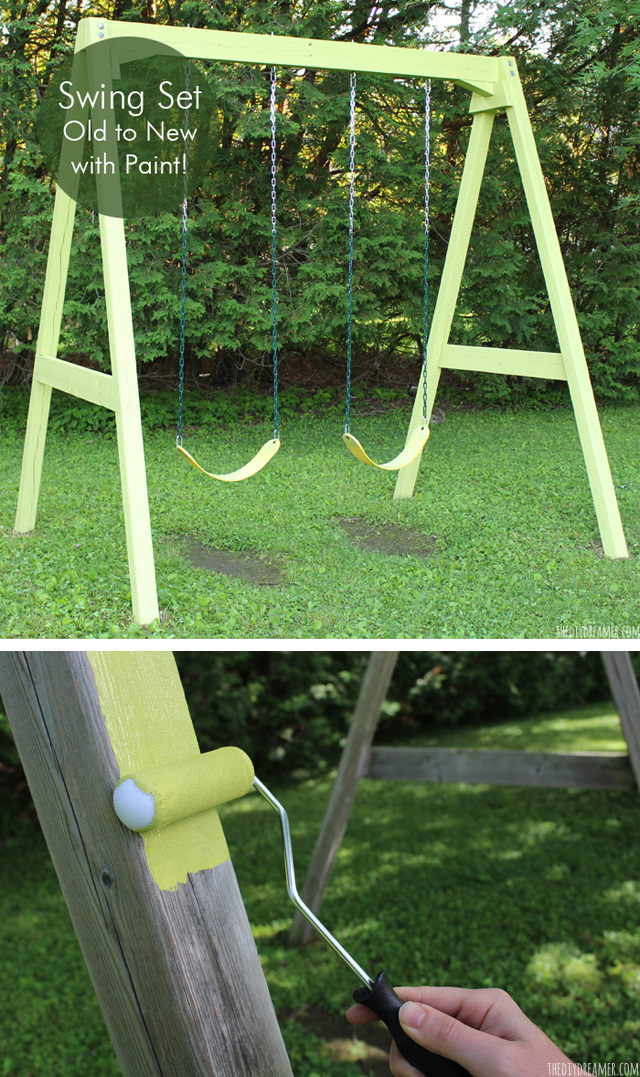
Step 5: We applied two coats of paint on the swing set.

Check out how well the first coast covered the swing set:

Step 6: Once the second coat of paint was dried, we attached the seats (with new chain)! And we were finished!
And here’s the final result:

Pretty FABULOUS right? The girls LOVE IT!! Check them out enjoying their “new” swing set!


Do you have a swing set that needs to be brought back to life? Do your kids use it year round?
Oh and if you want to see how I updated Emanuelle’s bedroom furniture with paint,
you can read about it here: Wood Furniture Makeover.
If you like the paint color we used, you’ll love our screen door.
Have a great day!!
Disclosure: A big THANK YOU to BEHR for supplying me with the paint to give life again to our old swing set! As always, all opinions in this post are 100% my own.


I got a swing set on Freecycle. It was pretty old and a bit rusty, but it came with all the metal parts, just not all the bolts to put together. We got it for the roommate’s great nephew and niece and their day spray painted it. We finally got all the bolts and now we just need to get the tie-downs to make it safe. Even so, now the kids can swing on it in moderation while they are visiting. Paint really can make a major difference!
What a great job making old new again! ;-)
Looks great, Christine! Love your choice of color!
What a fun project to make! I love the colour choice. It looks fabulous against the green trees and shrubs! Your daughters are adorable too! Happy summer!
Wow! It really looks great and I love the fun, unique color – perfect for the outdoors. Pinning!
Love the fresh color! I use Behr paints and have always been impressed.
what a difference a bit of paint makes. Thanks for sharing.