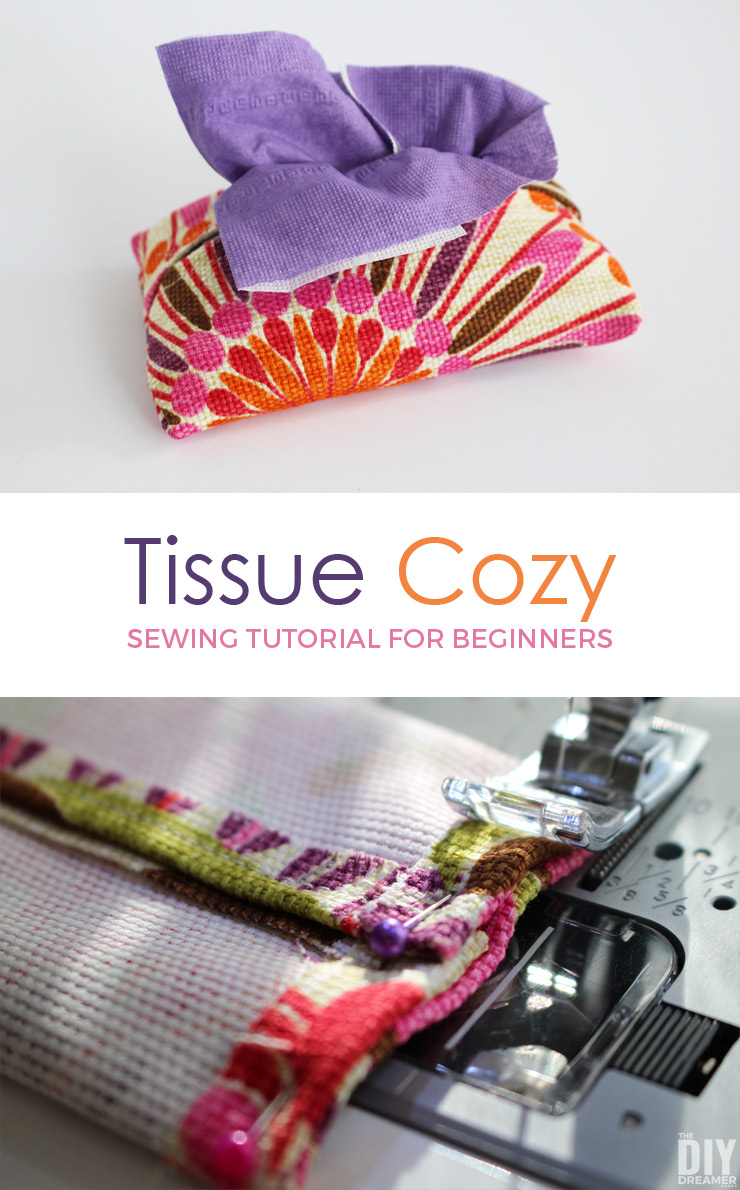
Learning to Sew – Tissue Cozy Sewing Tutorial for beginners
Want to learn to sew? Awesome!! I want to also! Let’s learn together! To motivate me to start sewing, I decided to make tissue cozies. Ready to join me with this Tissue Cozy sewing project?
If you recall my DIY Utensil Holders, at the bottom of that post I shared the tissues pouches I had made.
Today I will share with you how I made them. Yay!
I actually made two different versions. One version uses two pieces of fabric (double-sided tissue cozy) and the other uses one thicker piece of fabric.
This post also contains some affiliate links for your convenience. Click here to read my full disclosure policy.
Learning to Sew – Tissue Cozy Sewing Tutorial for beginners

Double-Sided Tissue Cozy
Supplies:
- Two pieces of fabric
- Matching Thread
- Scissors
- Fabric Ruler
- Sewing Gauge
- Pins
- Iron
- Sewing Machine
- Chopstick or long pointy object
Instructions:
Step 1: I started off by cutting the two pieces of fabric to 6 ½″ x 7″.

Step 2: I took both pieces and placed the right sides facing each other and pinned them together.

Step 3: Next I moved the fabric over to the sewing machine.
I placed the long side under the sewing foot about 3″ from the top and ¼″ from the edge.
I didn’t start sewing directly from the top because I wanted to leave about 1″ gap on the long side in order to leave an opening to be able to flip the fabric right side out.

Step 4: I started sewing by doing a few stitches forward, back stitched a few stitches and then proceeded to sew around the entire piece until I got about 1″ away from where I started.
Once I was about 1″ away, I did a few back stitches and then stopped sewing. I made sure to cut the loose threads.
Step 5: Before turning the fabric right side out, I cut the corners of the fabric (making sure not to cut the stitches).
Using the opening that I left, I pulled out the fabric.
With the help of a chopstick, I poked the corners out.
I used my iron to press the fabric making sure to fold in the fabric from the opening.

Step 6: I determined that I wanted the flowered fabric to be the outside of the tissue pouch so I pinned the short side with the green fabric over the flowered fabric.
I folded the bottom short side and overlapped it over the top by ¼″. I could have folded the top and bottom evenly but I prefer the overlap look.

Step 7: I moved the project back over to the sewing machine.
I placed the top of the folded fabric under the sewing foot ¼″ from the edge. I sewed a few stitches, then back stitched a couple, then I proceeded to sew to the bottom, and finished with a couple of back stitches.
The back and forth of stitches at the beginning and at the end is to help prevent the stitches from unraveling.
Once the first side was done, I moved over to the second side and sewed it the same way.

Step 8: I turned the pouch right side out and used a chopstick to poke out the corners.

And voilà! I had the double-sided tissue pouch completed!


Tissue Cozy
Supplies:
- 1 piece of thick fabric (I used a canvas type of fabric).
- Matching Thread
- Scissors
- Cutting Mat
- Pins
- Iron
- Sewing Machine
- Chopstick or long pointy object
Instructions:
Step 1: I started off by cutting the fabric to 6 ½″ x 7″.

Step 2: I turned the fabric over, folded down the short sides of the fabric a little more than ¼″ and pinned them in place.

Step 3: I sewed both of the folded sides ¼″ from the edge, remembering to forward and back-stitch at the beginning and at the end.

Step 4: I folded the other two sides that I did not sew and turned the fabric over to overlap and pin.

Step 5: I sewed both sides ¼″ from the edge, remembering to forward and back-stitch at the beginning and at the end.

Step 6: Using the same technique as the other tissue cozy, I turned the pouch inside out and used a chopstick to poke out the corners.

I inserted pocket tissues in the pouch and I had myself another tissue cozy! Yay!


And what do you think? Are you proud of me? hehe I’m proud of myself!
I actually will have to make a couple more, Gabrielle and Emanuelle have already claimed them! haha
Have you made a tissue cozy before?
If not, I hope I have motivated you to try to make one too!
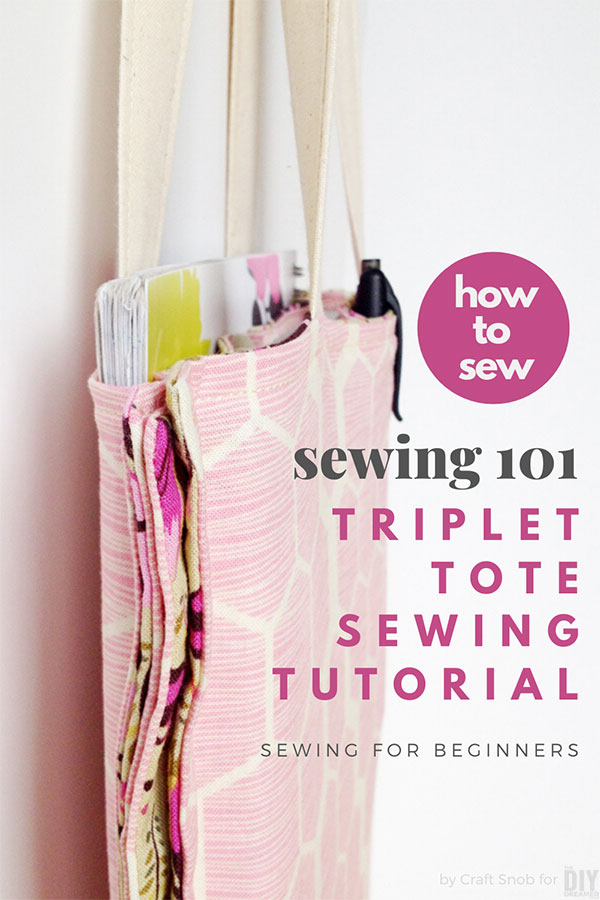
If you’re looking for another beginner sewing project, I HIGHLY suggest you check this one out too:
Have a GREAT day!

P.S. I’ll be linking to these Parties.


Great job and tutorial! I made several tissue pouches as Christmas gifts one year.
Oh, this is the perfect little handmade gift. I love it!
It would be great if you could come and share this post over at the Really Crafty link party that is live right now! (http://keepingitrreal.blogspot.com.es/2016/02/the-really-crafty-link-party-4-is-live.html).
This is a perfect project for learning to sew. I taught my 9yo how to make these. Ours uses a slightly longer inside piece and slightly shorter outside piece so that you see a border on the outside of the lining. Anyway, we did our version to make a “wipes case” for a baby doll.
I love this sewing project and great Tutorial. I appreciate the time you put in to write and photo it so thoroughly. I love to sew but I’m self-taught so I am always interested to see the techniques other sewers use.
Great tutorial. Makes me want to start sewing ;-)
Lovely project! Thanks for sharing great tutorial!
Have a great week!
Hugs and love from Portugal,
Ana Love Craft
Love the fabrics you have chosen, especially the pink and orange flower one. Thanks for a great tutorial
what a cute idea, christine and great pix!
They look great. I love your fabric choices.
Hello – I’m coming from the MAD SKILLS PARTY. Your site is very nice, and the large pictures are quite beautiful.
Are you putting the plastic to go tissues that you can buy in the store in the cozy or where are you getting the tissues that are in there?
Hi Jenn! Yes, they are traveling tissues inside the cozies (tissues with plastic wrapping). I got the colorful tissues at Walmart. They are made by Renova, I believe they can be found online as well.
Thank you! These are beautiful and I can’t wait to make my own!
I sure hope you do! Feel free to share photos when you do. I’d love to see it!