How to make a Rope Bowl
Learn how to make a rope bowl with this easy sewing tutorial. Rope bowls are made by wrapping and sewing rope together.

We are in the process of updating our youngest daughter’s bedroom. We bought her a new dresser and a metal bookcase. Her bedroom is really coming together nicely. She asked me to make her a rope bowl to put on her bookcase to store some of her jewelry.
After I made the rope bowl, my eldest daughter asked me to make one for her too. They are really easy to make and I figured I could share with you how I make them.
Ready? Let’s learn how to sew rope bowls.
This post contains some affiliate links for your convenience. Click here to read my full disclosure policy.
Rope Bowl Instructions
Supplies:
- Rope – 100% cotton (I used 100% sash cord 7/32inch thick. 100 foot long, that’s enough to make a lot of bowls.)
- Thread – Good quality thread
- White glue
Tools:
- Sewing machine
- Pins
- Jeans/Denim sewing machine needle
- Measuring tape
- Scissors
- Paint brush
Here’s the cotton cord I used, it’s the same as we used to make the window macrame valance.


Instructions:
Making the base of a rope bowl
Step 1: Take the end of the rope and wrap the rope tightly around it a few times to make a circle coil. I wrapped mine about 4 times.


Step 2: Secure the circle coil with two pins on opposite sides to keep the rope wrapped together.


Step 3: Thread your sewing machine with the desired thread, I started with black thread. After that, insert a jeans/denim sewing machine needle into your machine.

Step 4: Set your sewing machine to zigzag stitch.
You will need to play around with the width and length to select the correct setting that allows your sewing machine to sew a zig in one rope and zag in the next rope. The settings depend on your machine and the thickness of your rope. I had mine set as its widest (6) and longest (3).

Step 5: Using a zigzag stitch sew the rope circle coil together going across one side to the other, remove the pins as you go.
Make sure to back stitch at the beginning, middle, and end. It’s important that the remainder of the rope is on the right of the circle.


Step 6: Rotate the rope circle and sew again repeating Step 5 to make an X.


Step 7: Time to start sewing the bowl.
Place the rope circle under the presser foot so that it’s on the left of the presser foot and the loose rope is on the right. You want the needle to go into one rope then into the other as it does its zigzag stitch, this will attach the rope together.


Step 8: Stitch and backstitch then start sewing.
You will need to rotate the circle as you sew. At the beginning it will be a little messy and that’s ok, as the circle becomes bigger it will keep cleaner and easier.


You can make your bowl as big as you want. I wanted this one to be on the smaller side, so I stopped sewing the circle when it reached about 4 inches, however you can make it as big as you would like.
Note that if you want your bowl to be bigger, make sure to add a sewing machine extension table or stack books beside your sewing machine. It’s important the base of the bowl stays level.

Making the sides of a rope bowl
Step 9: Once the base is the desired size, lightly elevate the base as you sew to start making the sides of the bowl. I do so by sliding my hand underneath it. Eventually guide it completely up against the sewing machine.


P.S. If you run out of thread as you are sewing the bowl, don’t worry. Re-thread your sewing machine backstitch a few stitches before where you ran out of thread and continue sewing as you were.
Step 10: (Optional) You can change the thread of your sewing machine to give the bowl a fun look. Make sure to do a few backstitches before and after changing colors.
I started with black thread, then changed to white thread, and finished with black thread.


Step 11: When the sides of the bowl are the height that you want, backstitch and remove the bowl from the sewing machine.
I stopped building up the sides of this bowl when it reached about 2 inches high.


Step 12: Use good scissors to cut the remaining rope.


How to finish off a rope bowl
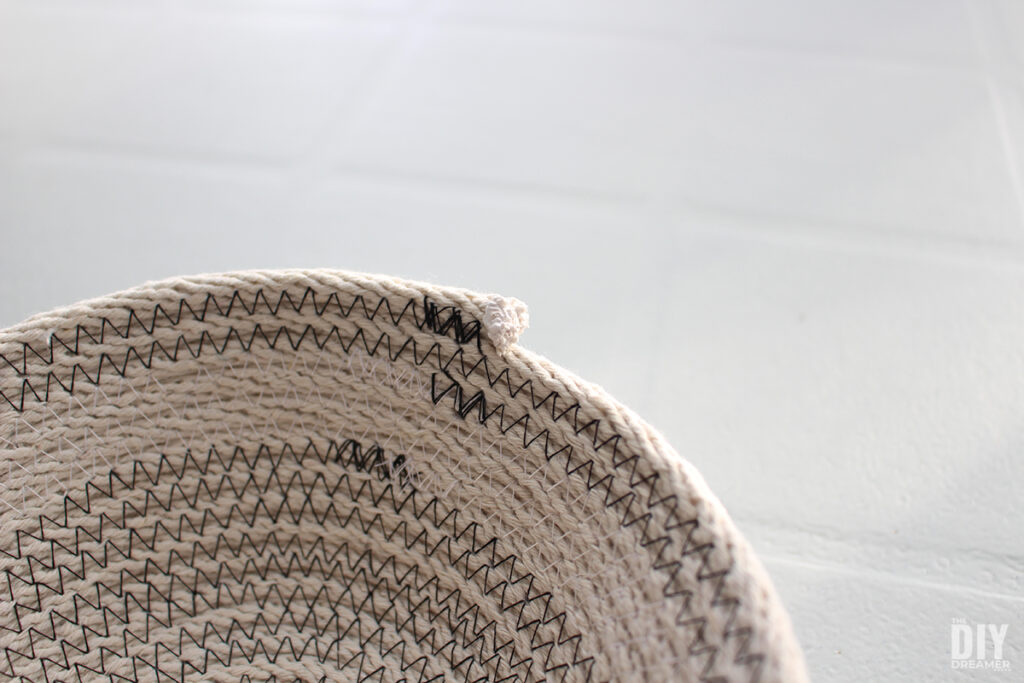
Step 13: To finish off a rope bowl, seal the end of the rope with white glue using a paint brush. It will dry clear.


DIY Rope Bowl
To recap, the rope bowl that we made together has a bottom diameter of 4 inches, 2 inches high, and has a top diameter of 7 inches.
Ready to see the bowl we made?


The bigger bowl I made has a bottom diameter of 5 inches, 2.5 inches high, and has a top diameter of 8 inches.
Here is the bigger bowl I made:


Making rope bowls is really fun. I love that each one is unique and that it doesn’t matter if you make a mistake, those mistakes make beautiful details in the bowls.
Have you ever made a rope bowl before? Once you start, it’s really hard to stop.
I even made a few round placemats, which one serves as a lid for one of the bowls I made. I’ll try to remember to take a photo to share with you.
UPDATE: I made a rope placemat for my daughter. She has a new desk and we want to protect it from possible moisture and scratches from her aquarium.
How to make Rope Placemats

To make rope placemats, you follow the same steps as how to make rope bowls. Instead of curving the sides like in Step 9, you just keep going until you get the desired size.


I made the rope placemat 11 inches wide in order to have a slight overhang under her aquarium.


Here it is on her desk under her aquarium.

Aren’t her guppies super cute? They are really fun to watch, they are always on the move.
I hope you have enjoyed learning how to make a rope bowl with me.
P.S. If you want more sewing projects, check out my sewing tutorials.
I also made a super cute clay bowl that looks great next to the rope bowls!
Have a wonderful day!
Christine


Well, that looks like fun! I love how you used the color of the thread to add to the design of these bowls! Pinned :)
Thank you for this tutorial! Maybe I make one too one day!
You just made something that looks difficult easy. I would love it if you would share this post at my Friday with Friends link party: https://myhubbardhome.com/friday-with-friends-party-fabric-valentine-crafts/
Thanks,
Rachelle
I love how you used the coloured thread to create the striped effect on your bowl. You’ve made something I thought would be difficult look easy to make.
Great job on the Rope Bowl. I’ve been meaning to try one, thanks for reminding me of this. I found you on the Craftastic Link Party.
(I’m a host of the new Fabulous Friday link party. We’d love to have you link up there too. southhousedesigns.com/fabulous-friday-link-party-2-18-22)
Congrats! I’ll be featuring your post tomorrow on Crafty Creators. Be sure to come grab your “I was featured” button!
What a cute bowl Christine!
Thank you for sharing this DIY at Create, Bake, Grow & Gather this week. I’m delighted to be featuring your rope bowl DIY at the party tomorrow night and pinning too.
Hugs,
Kerryanne
I love how you combine it with black thread. Simple yet beautiful. Thanks for sharing the tutorial. #HomeMattersParty
Making these rope bowls is soooo satisfying. Thanks for your great tutorial. Keep up the good work!
It is a beautiful bowl and I like that you used black and white yarn!
I love making bowls as gifts for my friends a family almost as much as they love receiving them. They are very addictive to make