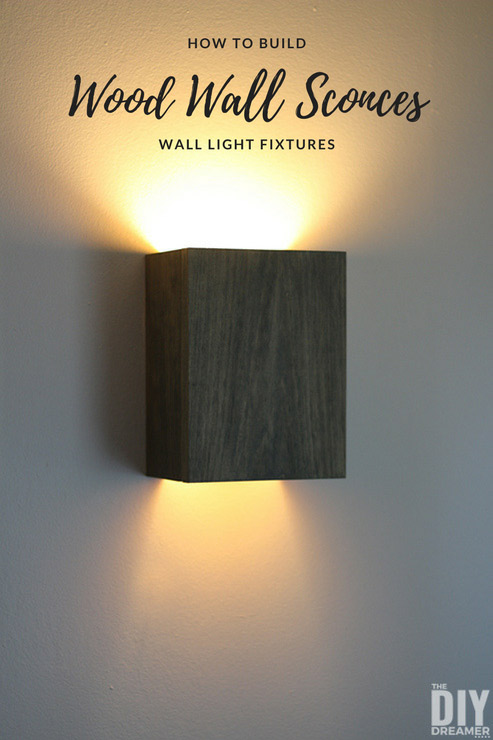
How to Build Wall Light Fixtures: DIY Wood Wall Sconces
Tired of your wall light fixtures and you want to change them? I know how you feel and that’s exactly why we decided to DIY Wood Wall Sconces!

Our house was built in 1960’s and the light fixtures throughout the house were original to the house when we moved in.
Our kitchen light was a gigantic glass ball that we actually converted into a Halloween decoration.
Well, the wall lights in our living were original too. We never liked them, but yet we never found anything we liked to replace them with, so we just put up with them.
A few months back we painted our living room and we decided it was time to do something with the lights.
We debated removing them completely to have a full wall without lights.
As we talked about removing them, somehow we got a little off topic and starting talking about how it would be nice to make something to cover them so that we could still use them when we needed them.
We don’t often turn them on, but they are useful when we require more light in the living room.
Anyways, there was talk about boxes, and how it wouldn’t hurt to try….. so we tried… and this happened…

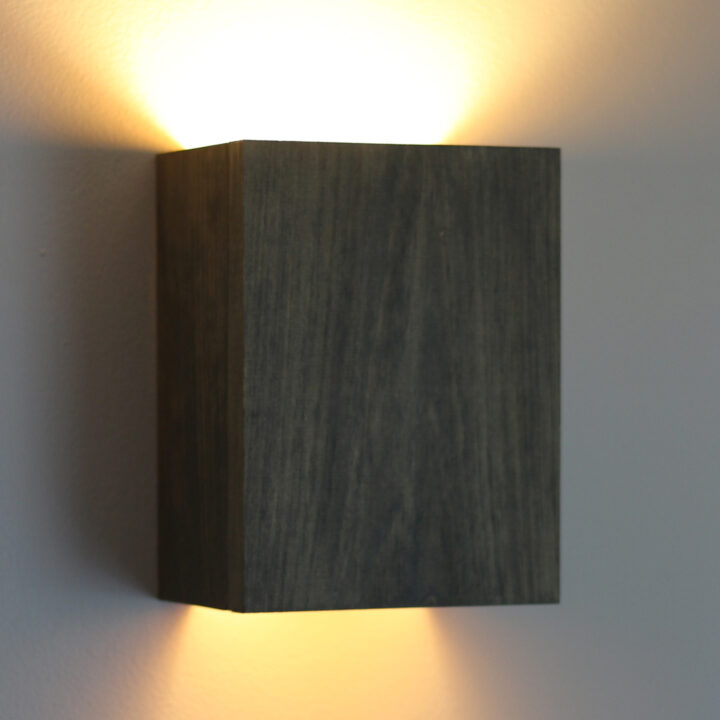
Aren’t our DIY Wood Wall Sconces awesome?!
I’m so HAPPY we decided to try to make them and that they turned out fabulous!
And they are SUPER EASY to make! The longest part is waiting for the stain to dry! Want to see how we built our wall sconces?
This post also contains some affiliate links for your convenience. Click here to read my full disclosure policy.
DIY Wood Wall Sconces
Supplies:
- Wood
- Stain – Weathered Gray
- Rag
- Wood glue
- Screws with drywall anchors
- Metal keyhole hangers (optional)
- Mini Photo frame hangers (optional)
Instructions:
Step 1: We started by measuring around our lights.

We measured the width, height, and depth making sure that our box wall sconces would cover the light completely and leave enough space for it to not touch the light at all.


Obviously last thing we want is for the wood to touch the heat of the light-bulb!

Step 2: Using the measurements we had taken, we cut three pieces of wood. Two pieces for each side of the box and one piece for the front part.
My cut list was: 2 pieces of 3.5″ wide x 8″ high and 1 piece at 6″ wide x 8″ high.

Step 3: (Optional) We did not have metal keyhole hangers or mini photo frame hangers in stock, so we opted to make our own keyholes.

We used our mini Kreg Jig Kit to make a slot on the top edge of the back of the side pieces.
Then we used out Dremel to make a small slit at the top of the slot to allow the screw (we were going to use to hang the wall sconce) to slip inside the slot.
Also, you can use a keyhole bit like we used when we made our window cornice.

Step 4: We used some stain my sister lent us to stain our pieces.

The stain is awesome and really makes wood look like barn wood!


Step 5: Next up, we used wood glue to fasten the pieces together.


Gentle place the front piece over the pieces with glue.


We also placed bricks over everything to help secure everything in place until the glue did its job.

Step 6: Time to hang them up!!
We used our drill to make little holes in the wall and hammered wall plugs into the holes.
We inserted screws and hung our DIY Wall Sconces!
Note: We did not touch any of the electrical stuff and we left all the hardware from the previous wall lights in place to make sure we had the correct spacing between our wall sconces and the light.

Want to see what we had before? You’ll see that the wall sconces we built are so much nicer!
Before:

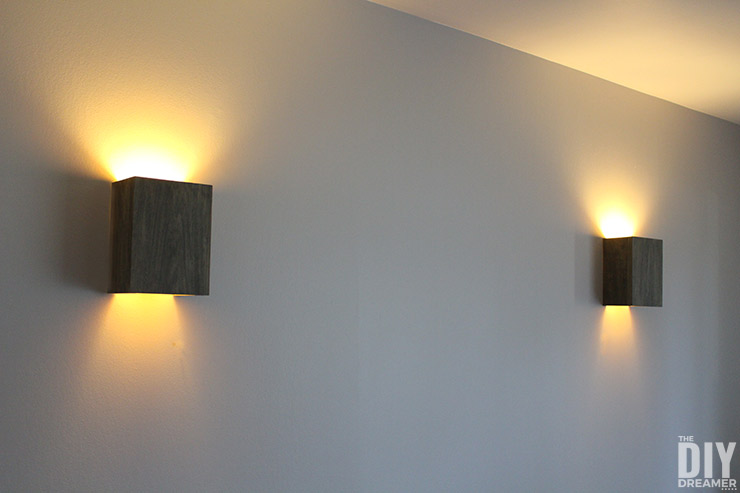
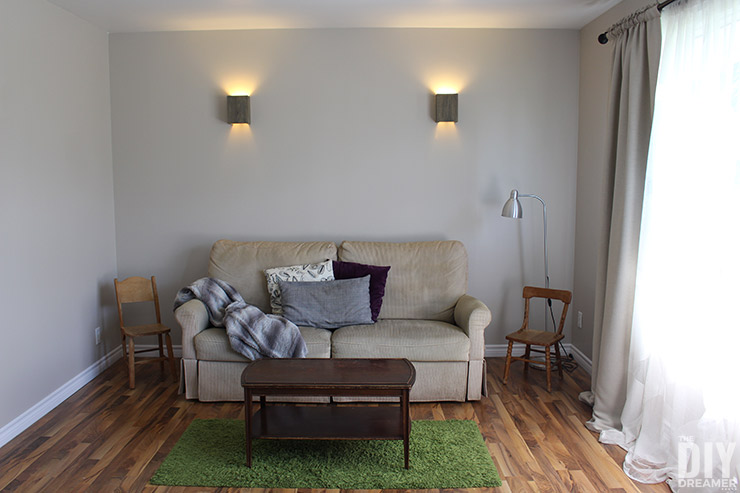
After:

Our living room is a little bare right now, we still haven’t put everything back in the living room since we painted.
And I’m not sure what we are putting back on the walls. However I know I want to put my Diamond Shaped Wood and Mosaic Wall Art back up!
Our living room has changed a little bit since we made the wood light fixtures. You can see a sneak peek of our living room here: how to make a TV Room Divider. So much better right?

DIY Wall Light Fixtures
Now that we have updated our wall light fixtures, we have them on all the time! They give such a nice glow at night, not too bright and not too dim.
Another great thing is that if we need extra light, we can easily remove the wall sconces. Very useful!
I just love our DIY Wood Wall Sconces soooo much!! They were so easy to make too!!

If you liked this DIY project, please share it via Pinterest, Facebook, etc… Thank you!
Have a BEAUTIFUL day!
Christine
DIY Wood Wall Sconces
Learn how to build wall light fixtures. Easy to make DIY Wood Wall Sconces. How to update old light fixtures with custom-built DIY Wood Wall Sconces. Beautiful wood box wall light fixtures stained to look like barn-wood.
Materials
- Wood
- Stain – Weathered Gray
- Rag
- Wood glue
- Screws with drywall anchors
- Metal keyhole hangers (optional)
- Mini Photo frame hangers (optional)
Tools
- Measuring tape
- Miter saw
- Kreg jig
- Drill
Instructions
- Measure the width, height, and depth around the light and fixture. This is to make sure that the box you make is big enough to cover the entire light fixture hardware including the lightbulb. It's important to leave enough space so that the wood wall sconce doesn't touch the lightbulb at all.
- Using the measurements, cut three pieces of wood with a miter saw. Two pieces for each side of the box and one piece for the front part. You can see my cut list in the Notes below.
- If you do not have metal keyhole hangers or mini photo frame hangers in stock, use a Kreg Jig to make our own keyholes or even a keyhole bit on a router will work.
- Time to stain the wood wall sconce.
- Use glue and clamps to assemble the wood wall sconce together. Make sure to leave the keyholes pointing towards the outside. Please note that you can also use nails to assemble it.
- Time to hang the light fixture to the wall. Use a drill to makes holes in the wall and hammer wall plugs into the holes. Insert screws and hand the DIY Wall Sconce.
Notes
My cut list to cover my light fixture and hardware.
- 2x 3.5″ wide x 8″ high
- 1 x 6″ wide x 8″ high


wow! those are really awesome. i love how the light comes out both top and bottom.
b
Awww!!! Thanks so much! I’m so happy you like them!
I love wall sconces and wish I had some in my house. I have the ones that plug in, but they’re just not the same. Thanks for this clever solution to ugly wall lights.
Awww thanks so much!! I know what you mean about the plug in ones… Would you believe I also have a plug high on one wall that was used to plug in a wall clock? hehe
These are great, clean, neat, decorative and would fit in with most decor. Pinning as I love it.
So HAPPY you like them Leanna!! :)
I am surprised you didn’t say what stain you used or if you used a conditioner first….I would think that would have been important to someone like myself who wanted the same effects.
Hi Lynda! Oups! I linked to it under supplies but you’re right, I forgot to name it. It’s called Weathered Gray and I did not use a conditioner. Have a great day!
Hi Christine! We’re hoping to do the same thing for two hallway lights and wondering about the thickness of your wood pieces? They look like 1′ thick, but I know photos can be deceiving. ;) I’m guessing 1x4s and 1×10 maybe? We still need to measure our lights, but I just love the ‘chunkiness’ of yours so trying to match as much as possible.
Hi Denise! Correct! They are 1″ thick (well, 3/4″ to be specific, why can’t 1″ be 1″ at the lumber yard hehe). We worked with 1x8s. :) Have fun building! Feel free to show me some photos, I’d love to see yours!
What were your measurements?
Measurements depends on what you are working with. We made ours (front piece) 8″ x 6″ and (sides) 8″ x 3.5″.
You have done an amazing job! Your wall sconces look beautiful, and your step by step directions are fantastic! Thank you for sharing, and for being a part of the Hearth and Soul Community! Happy New Year!
Can you tell me what exactly i need to get for the light fixture itself??
This is such a neat idea! I love home DIY!
How to install to the wall ؟