How to make a Moving Playing Card Holder
DIY moving playing card holder to move playing cards across a table.

Playing cards on a large table with many people can make reaching for cards in the center of the table a difficult. Even more difficult when you are getting older and reaching across the table is uncomfortable.
We love playing cards as a family. We find ourselves playing cards very often with my parents and even with my grandfather.
Our favorite game to play is UNO. We actually own various versions of the game. Our favorite version is UNO with the customizable cards.
When we are only four playing it’s easy to reach for the deck of cards because we are all sitting close to each other.
However when we are a bunch of players and we have people all around the table (the table often has the extension too making the table even longer) it’s hard to reach for the cards.
How to move playing cards across a table
One day we were playing cards at my grandfather’s house and we could see how it’s getting difficult for him to reach for the cards when they are too far away from him.
We started discussing how it would be fun to have a playing card caddy that we could slide from one end of the table to the other.
Our discussion became more and more interesting and we were all quite excited about it.
My Dad and I started working on our card cart prototype almost immediately.
We had so much fun playing around with the concept and how it would make playing cards easier.
Ready to see how we made it?
P.S. We built it back in January 2018. I know.. 2 years ago. I had not shared it right away because since it was such a great idea, I wasn’t quite sure if I should do a tutorial demonstrating how to do it. However, waiting 2 years to share it gave us plenty of time to test it out and it works great!
This post also contains some affiliate links for your convenience. Click here to read my full disclosure policy.
How to make a Moving Playing Card Holder
Supplies:
- Wood board 5.25” x 7.5”
- Quarter Round – 7/16” x 11/16” – 8 pieces of 1.5 long”
- Small wood piece 5.25” x 3/4”
- 2x 7.5” x 3/4”
- 2x 5.25” x 3/4”
- Dowel ¼ – 2 pieces 6.5” long
- Wood board to make 4 round wood pieces 1.25” in diameter
- Glue
- Sand paper
- Paint brush
- Painter’s pyramid
- Stain
- Varnish
- Hammer
- Screw eye hooks 3/8” in diameter 2x
- Leather cord
- Leather tassels 2x
- Decorative rings 2x
Tools:
- Miter box and saw
- Drill press
- Wheel and Circle Cutter
- Belt sander table
- Table saw
- Combination square
- Paint brush
- Nail gun
Instructions:
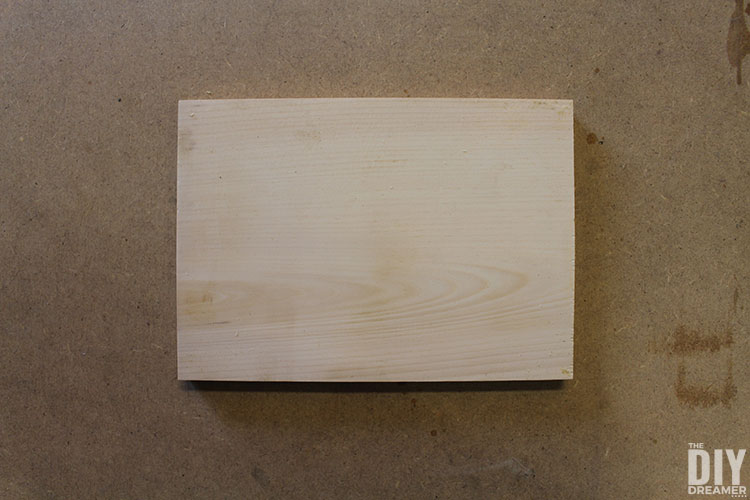
Step 1: Using a table saw, we cut a wood board 5.25” x 7.5”.

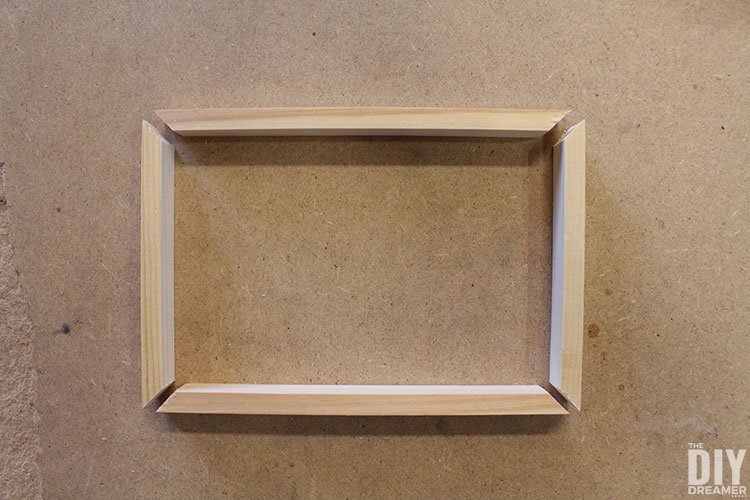
Step 2: We cut 8 pieces of 7/16” x 11/16” quarter round at 1.5 long” with a miter box.
These pieces are to make the four corners. In order for them to make corners, we paired them in two and used the miter box to cut one end of each piece 45 degrees so that they would make a nice corner.


Step 3: To make this moving playing card holder, we need to make wood wheels.
To make the wood wheels, we placed the wheel and circle cutter onto the drill press and set it to 1.25”. Placing the extra wood board on the drill press, we made 4 wood wheels measuring 1.25” in diameter.


Step 4: To make the bottom frame of the card cart, we cut 4 small pieces of wood with the table saw. 2x 7.5” x 3/4” and 2x 5.25” x 3/4”
Using the same method as the top corners, we used the miter saw to cut angles on the pieces in order for them to fit together to make nice corners.


Step 5: We used the miter saw to cut the dowel into 2 pieces of 6.5” long.

Step 6: We took a small wood piece 5.25” x 3/4” and sanded the top edges to round them. This piece is the center piece that divides the deck of cards.


Here’s a photo of all the wood pieces needed to make the card cart:

Step 7: We glued together the 4 small corners.


Step 8: We used glue and a nail gun to fasten the bottom frame onto the bottom of the 5.25” x 7.5” wood board.


Step 9: With the help of a combination square, we marked where we wanted to drill holes on the bottom frame to insert the dowels. (In the middle of the long sides of bottom frame 1.25” from the side.)


Step 10: We used the drill press to drill ¼” holes into the 4 markings we put on the bottom frame.
Try inserting the dowels inside the holes. If they are too tight make the holes a little bigger. It’s important that the dowel can move otherwise the wheels won’t turn.


Step 11: Using my staining technique, we stained all the wood pieces.

I forgot to take photos of the staining and painting. OUPS! Hehe
We stained the base and the wheels. We painted the corners, dowels, and the middle dividing piece. (To paint we just didn’t wipe away the paint.) Of course we could have stained everything, but we liked the idea of giving the card cart two tones.
Step 12: We used glue and the nail gun to fasten the small middle wood piece in the middle of the board.


Step 13: Fasten the 4 corners into place with glue and nail gun.


Step 14: Time to assemble the wheels. Put glue on one end of the dowel and insert one wheel.
A hammer can be used to help insert the wheel. Repeat the same step with the other dowel. (You will have 2 wheels not attached.)


Step 15: We placed the card cart on painter’s pyramids and varnished it along with the wheels and dowels.


Step 16: Once the stain was dry, we inserted the dowels into the holes on the card cart frame.
We put glue on the end of the dowels and inserted the remaining wheels.
We used a paper towel and hammer to insert them tightly. (The paper towel was to protect the wheel from possible scratches from the hammer.)


Step 17: We added screw eye hooks on each end of the card cart.


Step 18: We attached 55” leather cord on each hook. We also added a leather tassel and ring on each end.


DIY Moving Playing Card Holder


Doesn’t the moving playing card holder look wonderful?
We had so much fun making it.
I should say we had fun making them, we made 3 of them at once. One for my grandfather, one for my parents, and one for us.
The card caddy works really well on a table and even on a table with a tablecloth on it.
How to make a playing card cart without wheels
The card cart can also be made without wheels.
To do so, skip making the bottom frame with the wheels and just glue felt underneath the main wood piece.
The felt will make the cart slide over a table top easily.
Note that it will not slide over a tablecloth as easily than with wheels.
Playing card caddy


Do you like playing cards?
What are your favorite card games?
Would a moving playing card holder be something you could use with your family?
I hope you have enjoyed this tutorial!
A big thank you to my Dad!
Have a wonderful day!


How to make a Moving Playing Card Holder
Learn how to make a moving playing card holder to move playing cards across a table.
Materials
- Wood board 5.25'' x 7.5''
- Quarter Round - 7/16'' x 11/16'' - 8 pieces of 1.5 long''
- Small wood piece 5.25'' x 3/4''
- 2x Small wood pieces 7.5'' x 3/4''
- 2x Small wood pieces 5.25'' x 3/4''
- Dowel ¼ - 2 pieces 6.5'' long
- Wood board to make 4 round wood pieces 1.25'' in diameter
- Glue
- Sand paper
- Painter’s pyramid
- Paint brush
- Stain
- Varnish
- Hammer
- Screw eye hooks 3/8'' in diameter 2x
- Leather cord
- Leather tassels 2x
- Decorative rings 2x
Tools
- Miter box and saw
- Drill press
- Wheel and circle cutter bit for drill press
- Belt sander table
- Table saw
- Combination square
- Paint brush
- Nail gun
Instructions
- Cut wood board 5.25'' x 7.5'' with table saw.

- Use miter box and cut 8 pieces of 7/16'' x 11/16'' quarter round at 1.5 long'' with 45 degree angle on one end of each.

- Cut 4 wood wheels measuring 1.25'' in diameter with drill press.

- Using a table saw cut 4 small pieces of wood 2x 7.5'' x 3/4'' and 2x 5.25'' x 3/4'' with 45 degree angle on one end of each.

- Use miter saw to cut the dowel into 2 pieces of 6.5'' long.

- Make card deck divider with a small wood piece 5.25'' x 3/4'' and sand the top edges to round them.

- Glue 4 small corners together.

- Use glue and nail gun to fasten the 4 pieces to the 5.25'' x 7.5'' wood board to make bottom frame.

- Mark where to drill holes on the bottom frame to insert the dowels. (In the middle of the long sides of bottom frame 1.25'' from the side.)

- Drill ¼'' holes into the 4 markings we put on the bottom frame.

- Stain all the wood pieces.

- Use glue and nail gun to fasten the card deck divider in the center.

- Glue the 4 corners in place and use a nail gun to fasten.

- Put glue on one end of the dowels and insert one wheel. A hammer can be used to help insert the wheel.

- Varnish the card cart and the wheels.

- Once dry, insert the dowels into the holes in the frame. Add glue on the ends of the dowels and insert the wheels.

- Add screw eye hooks on the ends of the card cart.

- Attach 55'' leather cord on each hook and a tassel and ring on each end.


How clever and unique. I have never seen anything like it. Thanks for sharing.
That’s brilliant! What a great solution! We love playing Uno in our house too, we used to always take it on holiday for games sessions sitting on the balcony on warm evenings after dinner.
UNO is just so much fun! So happy you like my moving playing card holder!
This looks like a fun craft project to do with my hubby.
Have a great week,
Kippi
This is a clever idea! I also have a long table and it does make playing card game more difficult. Your tutorial is very detailed and helpful too. Thanks for sharing at #HomeMattersParty
How creative! Thanks for sharing at Vintage Charm!