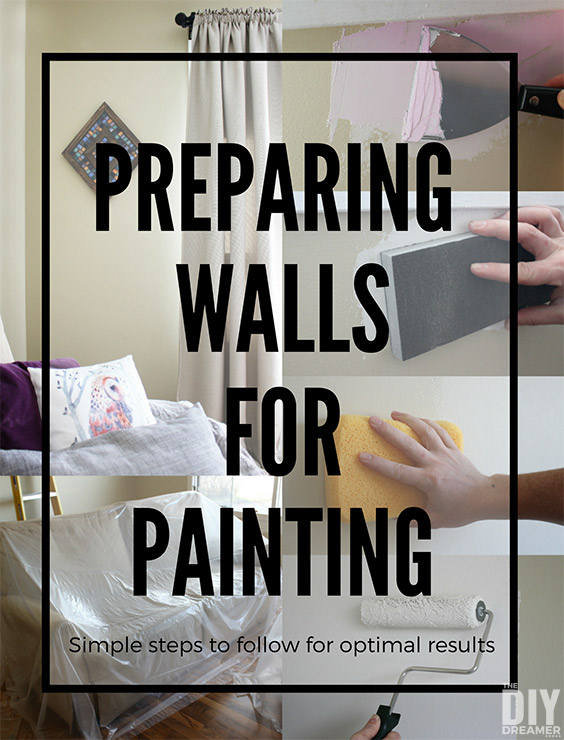
Preparing walls for painting – What to do before painting
Preparing walls for painting is a very important step before painting.
We bought our house a little over 10 years ago.
The first thing we did when we bought it was remove the ugly bright carpets that were in every room, think apple green, cardinal red, and indigo blue.
I honestly can’t remember the colors of the walls though, I’m assuming that the walls were white.
After removing the carpets we painted every single room starting with the living room.
We painted the living room a nice beige that also had a tint of green to it (I didn’t notice the green shade it had until my brother-in-law pointed it out.).
To this day I liked the color, however after 10 years the walls were screaming to get a fresh coat of paint.
Since we know the importance of preparing walls for painting, we started with that.
Preparing walls for painting
Remove everything from the walls
The first thing we did before taking on the painting project, was remove everything from the walls.
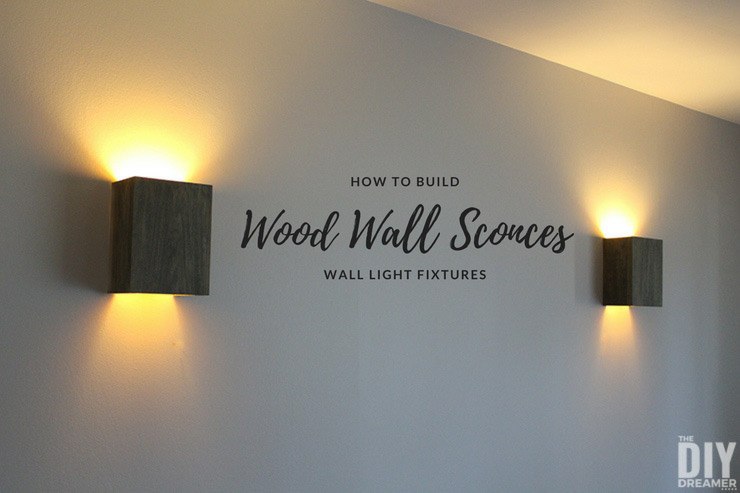
We took down all our artwork like the diamond shaped mosaic wood wall art, photo frames, the wall sconces, our big mirror over the couch, and our window curtains & pole.
We even removed the baseboards (I’ll explain why in another post.).
This post contains some affiliate links for your convenience. Click here to read my full disclosure policy.

Protect Furniture and Electronics
When doing any renovations, and painting it’s important to protect your furniture and your electronics.
Renovations can cause a lot of dust and paint can easily splatter over your precious belongings.
Our favorite way to protect our stuff is by pushing them towards the center of the room and placing plastic drop sheets over everything.
The plastic drop sheets protect everything from dust and paint.


Fix drywall
Once everything was removed from the walls, we noticed areas on the drywall that needed some TLC before painting.
Nail holes, cracks in the drywall, small holes, and some chips needed to be fixed.
While inspecting the walls we also noticed a few spots that had loose paint, that needed to be scraped before we could paint.
Instead of going from one spot to another fixing and repairing the drywall, we opted to go one wall at the time inspecting the entire wall.
We started off by scraping any loose paint we found.
Once the wall was nice and smooth we proceeded with drywall joint compound.
Since we didn’t have large repairs to do, we opted to use DryDex Spackling (this product goes on pink and dries white when it’s ready).
We put the spackling putty onto a putty knife and would apply it to the spots that needed repair or holes that needed to be filled.
We did not have major drywall damage, so we did not need to use any drywall repair tape or repair patches.
Some places we did need to apply a second coat of joint compound over the repair, which we lightly sanded between coats.


When all the repairs were down and the drywall joint compound was dry, we used 120 grit sand paper to sand all the repairs.
We made sure our Shop Vac was close by to pick up as much dust as possible.

Washing walls before painting
Next up, washing the walls!
Washing walls before painting really isn’t as bad as we all think and it’s really worth doing!
I’ve heard so many horror stories about paint falling off walls after painting because the walls weren’t washed before. Yikes! Find out how to clean your walls before painting!
I’m curious, how often do you paint your living room? Is it something you like doing?
Have a BEAUTIFUL day!

P.S. I’ll be linking to these Parties.


I used to want to skip this step but, it is so important to a nice finish! Thanks for joining Home Sweet Home!