How to Build a 2×4 Outdoor Bar Table
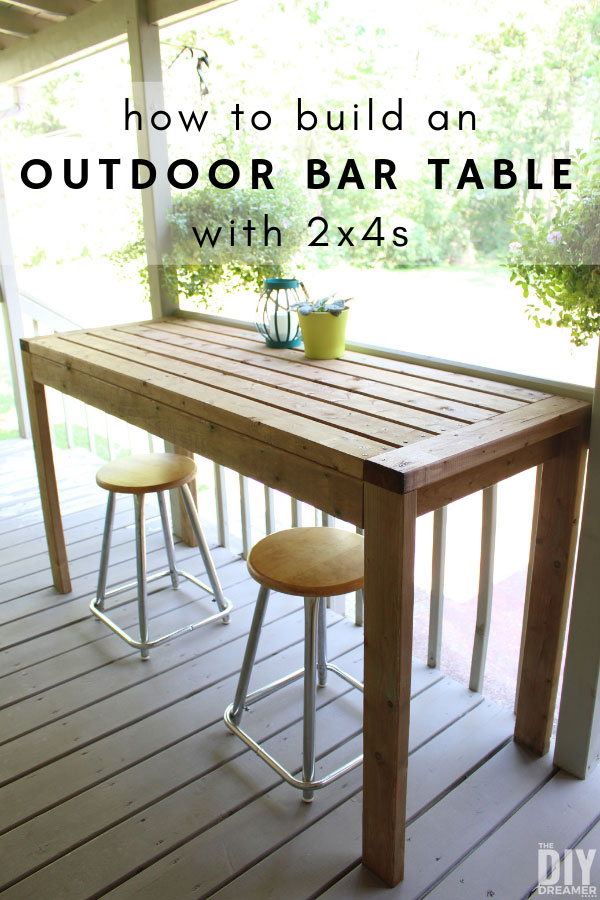
This DIY 2×4 outdoor bar table is a versatile outdoor table that can be used as a bar, dining table, and even a workstation. It only takes a few hours to build.
I have been talking about wanting to build an outdoor table all summer. I’m super excited that we have finally built one!
What can I build with 2x4s?
This month’s At Home DIY Challenge: What Can I Build with 2x4s?
I’m participating in a year long DIY challenge with fabulous DIY bloggers. Every month we have a new challenge. Last month’s challenge was 2-Hour DIY projects, my project was how to build a wood window cornice. At the bottom of this post you’ll find a bunch of 2×4 projects.
Which is the perfect challenge to finally build the outdoor table I have been dreaming to have.
I have been drooling over two of Ana White’s outdoor tables. I love the height of this outdoor table and loved that the outdoor coffee table she built was made of 2x4s.
We decided to use the combination of both tables to make the perfect outdoor bar table for us.
It would be perfect for us because we have been wanting a versatile outdoor table.
We want our outdoor table to function as an outdoor dining table but also as an outdoor workstation.
The table would be moved from our patio to our back porch depending on what we are using it for.
The size of the table is also important. We want the table big enough for all 4 of us to sit together and also big enough for us to be able to have extra seating in case we have guests. We also want the table to fit on our back porch.
We played around with the dimensions of the outdoor bar table until it was perfect for our use. Keep in mind that it was going to be built with 2x4s.
This post also contains some affiliate links for your convenience. Click here to read my full disclosure policy.
How to Build a 2×4 Outdoor Bar Table
Supplies:
- 10x 2×4 8 feet long
- Decking screws 2.5″ and 3″
Tools:
- Measuring tape
- Square
- Pencil
- Miter saw
- Kreg Jig
- Bar clamps
- Clamps
Cut list:
- 4x 34.5″
- 5x 20.5″
- 2x 23.5″
- 8x 59″
Instructions:
Step 1: We started off by putting aside the nicest pieces for the tabletop.
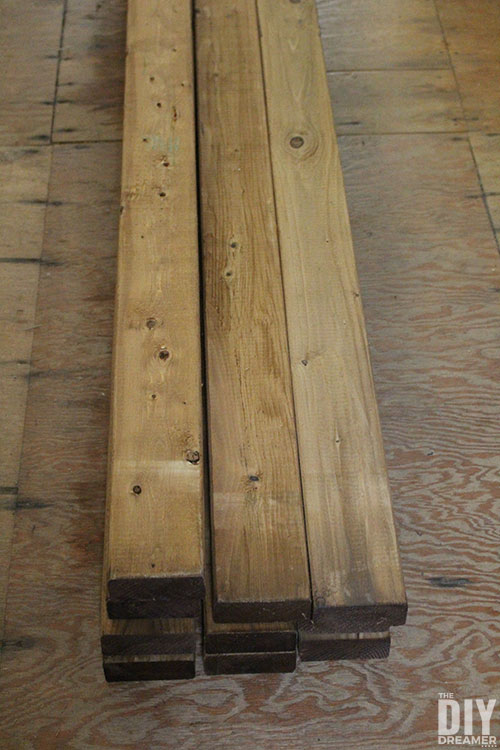
Step 2: Based on the cut list, we used a measuring tape and a square to mark where to cut the boards.


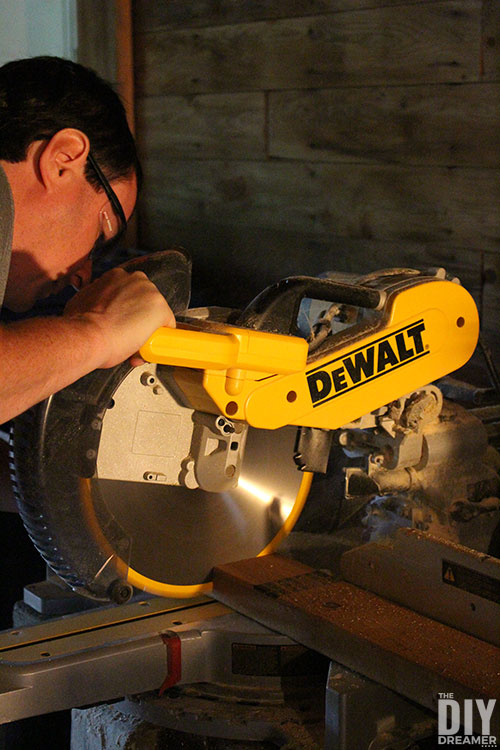
Step 3: We proceeded to the miter saw and cut the wood boards.

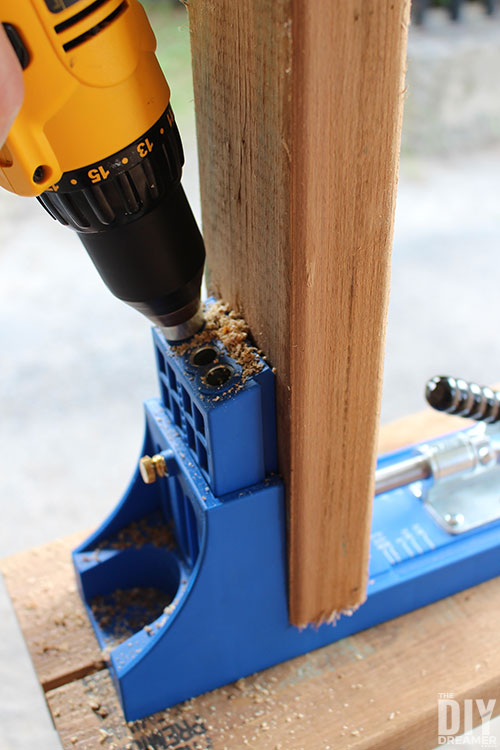
Step 4: Using the Kreg Jig we made 2 pocket holes on each end of the 3 pieces of 20.5″ that will be used for the table frame.
We could have made all the pocket holes for all the boards at once, but we decided to go according to how we were going to assemble the table.

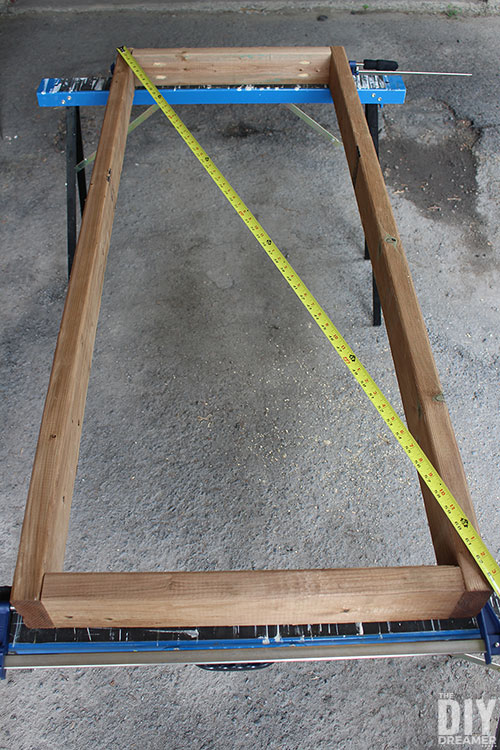
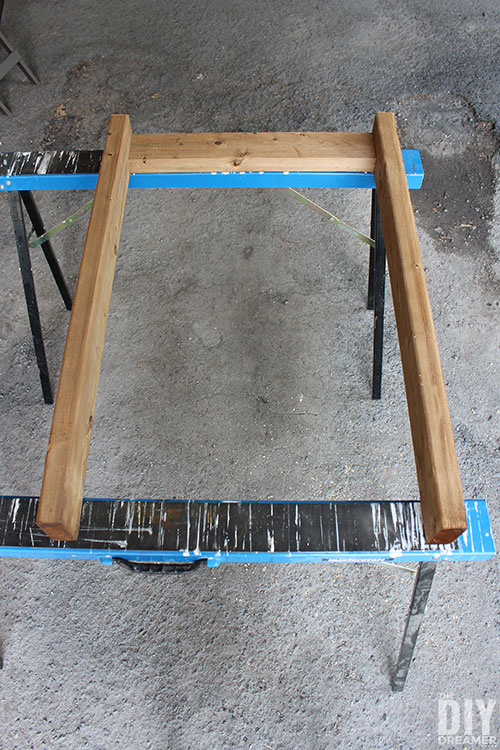
Step 5: We placed 2 of the 20.5″ pieces on sawhorses and on each side we put a 59” board.
We placed bar clamps to keep everything together.
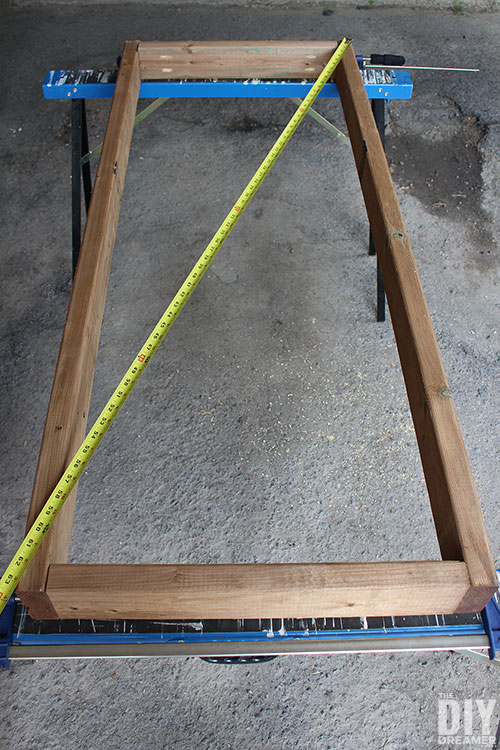
We measured each corner diagonally, making sure the measurements were the same. This makes sure the table is square.
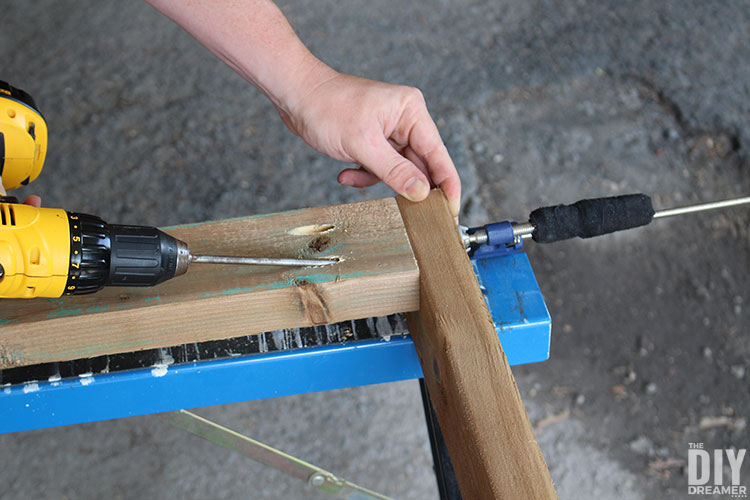
We assembled the base of the outdoor table by drilling decking screws inside the pocket holes.

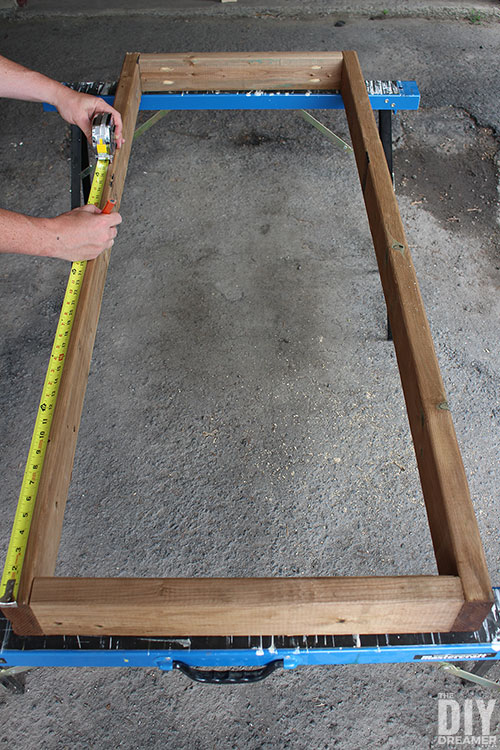
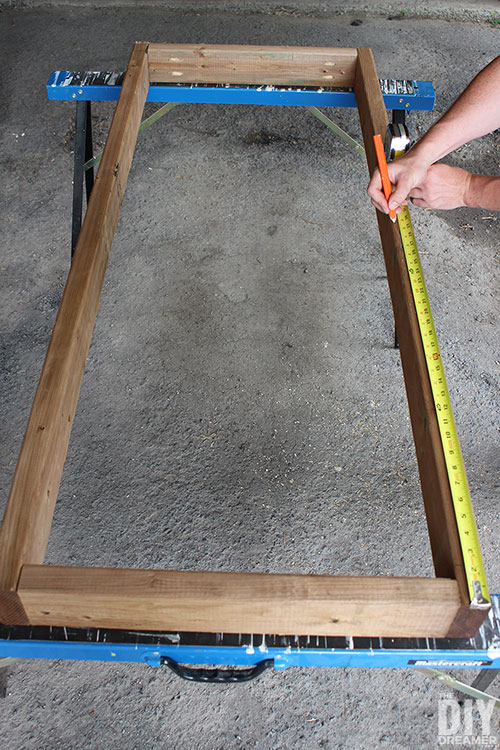
Step 6: We measured the center on the two 59″ boards and marked them with a pencil.
We placed the last 20.5″ in the middle making sure the pencil marks were in the centered on each end of the board.
We secured the board with a big F clamp.
Once again, we did this by drilling decking screws inside the pocket holes. Set the frame aside.


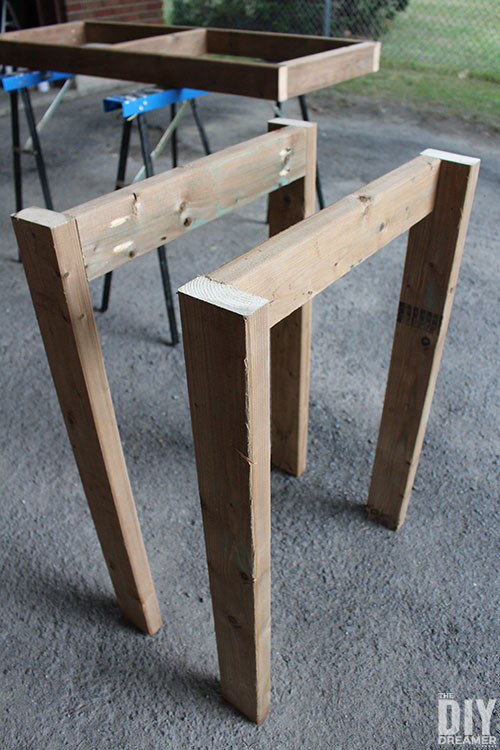
Step 7: We put a piece of 20.5″ flat on the sawhorse. (We call that piece an apron.)
We placed one 34.5″ piece on each side of the apron.
We removed the 20.5″ piece (apron) and made 2 pocket holes on each end using the Kreg Jig.

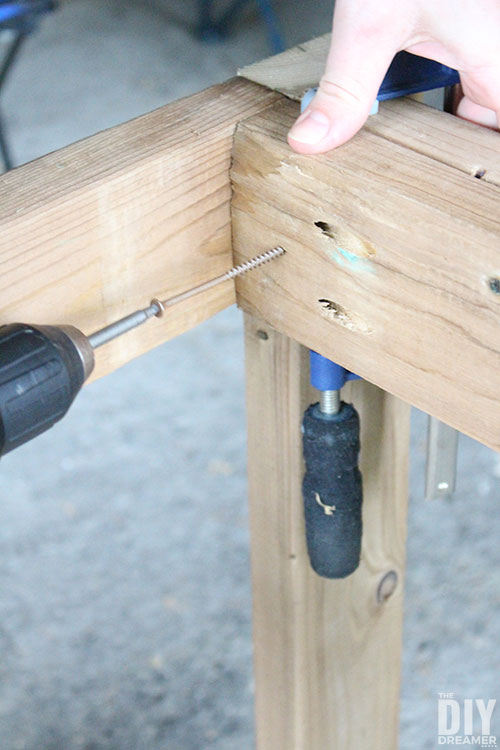
Step 8: Using a bar clamp, we fastened the apron and the two legs together. We then drilled the pieces together by inserting deck screws inside the 4 pocket holes.

Step 9: We repeated Step 7 and 8 to make the other end of the table.
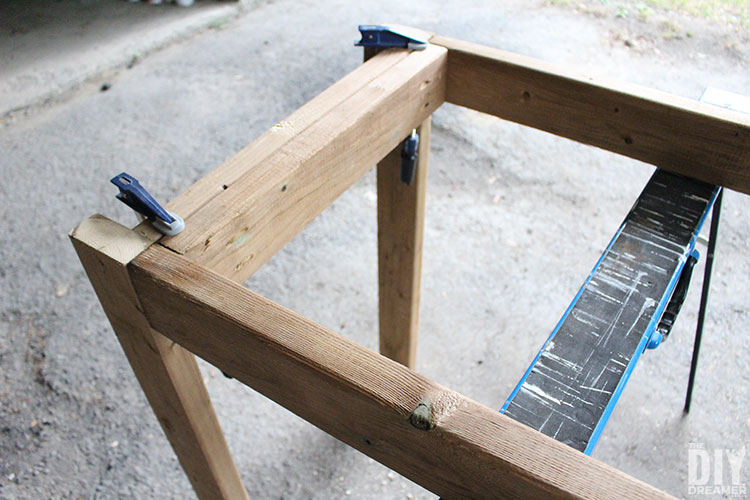
Step 10: We placed the table frame onto the sawhorse.
With the help of our sawhorses and clamps, we attached the legs to the table frame.
We inserted 8x 3″ deck screws in each end (inside).


Step 11: We removed the table base from the sawhorses and placed it directly onto the ground.

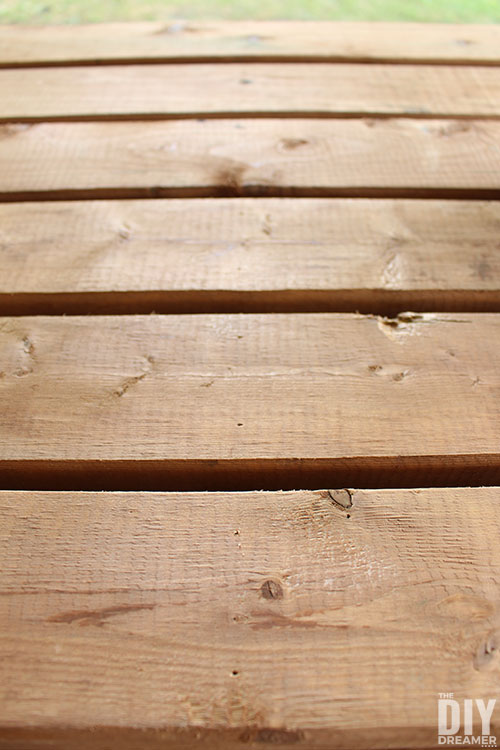
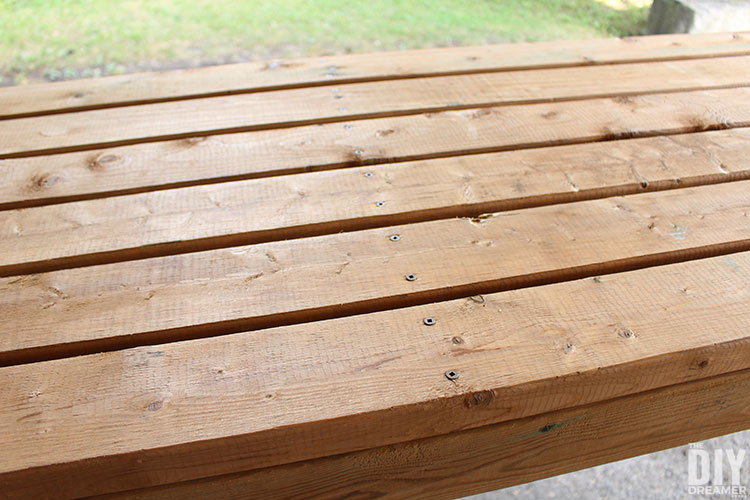
Step 12: We placed the remaining 6 59″ boards on to the middle of the table base. We left a ½″ space between the boards.
The first and last board were flush on the edge of the table base.
Then we placed the two 23.5″ boards across each end of the table base.


Step 13: We pre-drilled 2 holes on each end of the boards. Then we drilled 3″ deck screws into the holes.

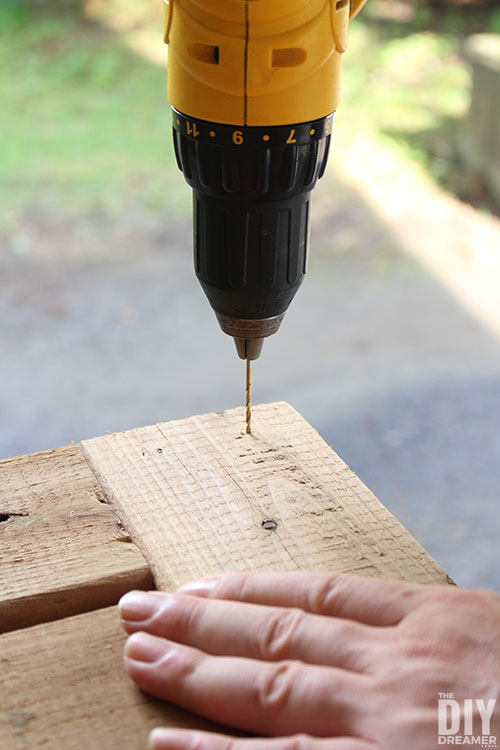


Step 14: To fasten the tabletop even more to the table base, we drilled holes in the center of the six 59″ boards and fastened them with 3″ screws into the center board that’s underneath the center of the table base.
To make sure the screws were in a straight line, we used a square and a wood punch to punch holes.


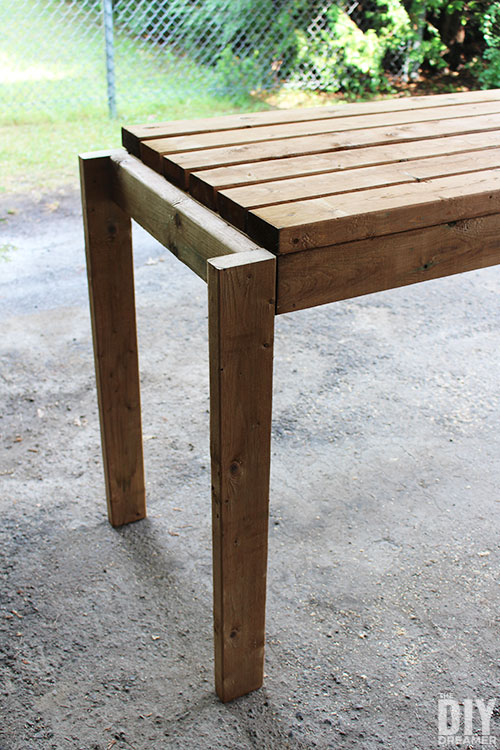
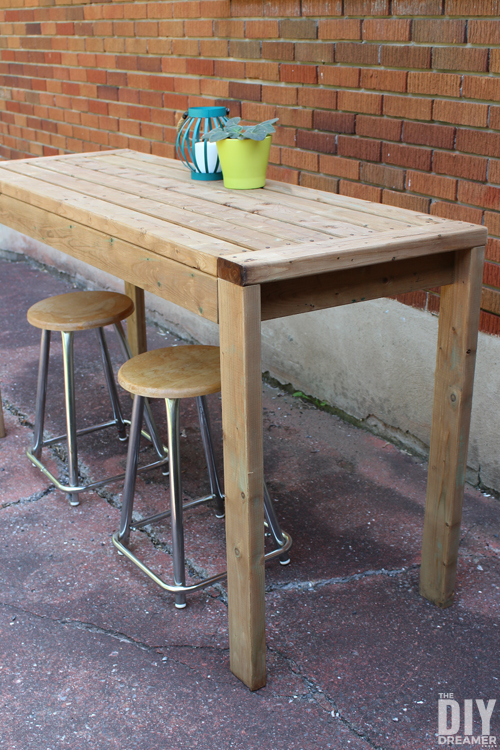
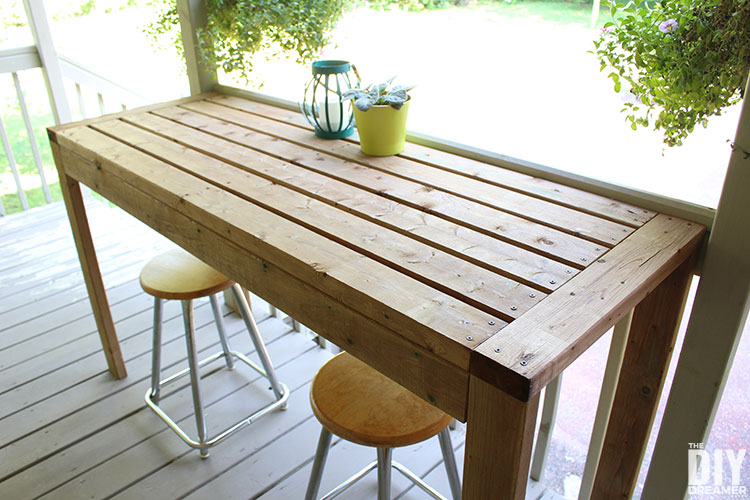
And then we had a beautiful outdoor bar table that measures 66″ long x 36″ high x 23.5″ wide.
DIY OUTDOOR BAR TABLE

It looks absolutely wonderful on our back porch too:
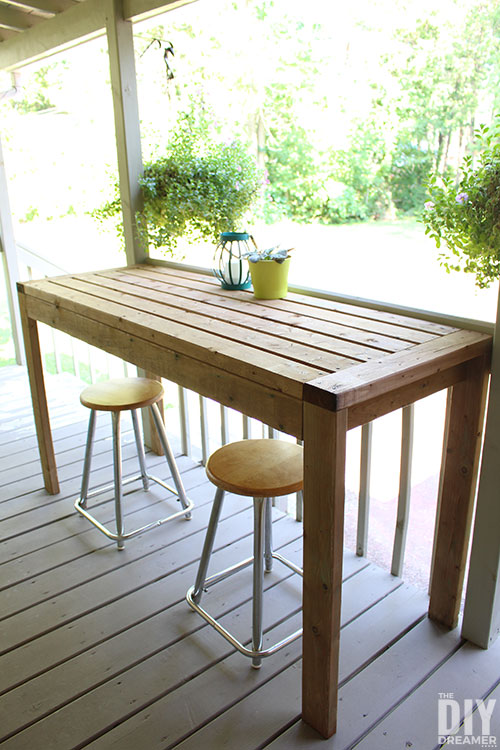
It fits perfectly between the posts and can easily be pulled out if we want to add more seating around it.
We still need to buy stools or build some. We can fit 8 bar stools around the table. It’s perfect for us!
We built outdoor bar stools for around $12.50 each to go with the table!
How to build an Outdoor Bar Table with 2x4s
I really hope you have enjoyed my 2×4 DIY project!
Have you have built anything with 2x4s? I’d love to hear about it.
Have a fabulous day!
Christine


Christine, you knocked this project out of the park! It looks great!
This table is just beautiful, love the height! I have used Ana White plans for a 2×4 coffee table and am so happy with it. Enjoy your space.
Christine this looks so great! Now I’m looking for a spot where I could have this in my backyard. There is never enough seating when you have a party or barbecue.
Oh, I love that table and am so jealous of your covered porch with a view. I’d work there all the time, if I could. Pinning!
Wow this looks fantastic! Love that it’s all 2x4s too. So much more affordable to make.
That turned out amazing! It’s perfect for the porch!
Oh man this would be great in our backyard! I’m thinking of all the evenings we would spend out there and I think it’s a must-do kind of project. Thanks for sharing.
This is such a great outdoor piece of furniture Christine! Love how it came out and great tutorial too!
My husband and I made this out of cedar and just made the side legs 39” tall so we have a table beside our hot tub to put phones, beverages, etc. Bar stools are underneath. It was really easy and didn’t take too long. Love it!
I love Ana White plans too and this looks fabulous! Thanks for the tip to measure the diagonals to make sure the table is square, I’ll have to remember that! Pinned for reference.
The bar table is now on my summer project list! Thanks!!
That turned out really nice. Pinned!
Great tutorial and great table! Thanks for sharing at Vintage Charm Party! xoKathleen
Wow, what a great project. I love it
Hello !
Great Table, I am just a little bit confused by the dimensions..
You said that the table is 23.5″ wide, but on the top you have 6 x 4″ with .5″ spacing between each of them which makes a total of 26.5″.
Am I missing something ?
Thanks
Hi! Great question! It is in fact 23.5″ inches wide because 2x4s are actually 3.5″ inches wide. Hope this helps! :)
Hum. I’m European but lives in Canada now, and I’m not used to inches :) Does that mean that if I buy 2×4 at the store it’s actually 3.5″ ? or did you cut them ?
Thanks a lot !
That’s the size they come.
Hey! How tall exactly is this table?
If I read that correctly, the table top is only about 3 feet off the ground, is that right?
(Love this btw)
So happy you love it! Yes, it’s 3 feet tall. :)
Did you use pressure treated lumber?
Hi , can I still build this without the kreg jig ? If I need to buy one , which one ?
Thank you
Perfect! My first wood working project! This is exactly what I was looking for. Can you tell me how to break down/cut the 8ft lumber? Ex what should get cut after the 8 59”? Thank u!!! And can this be done just by screwing in sides vs Kreg jig?